


Alvar 61″ Oak 6-Drawer Chest(Set of 2)


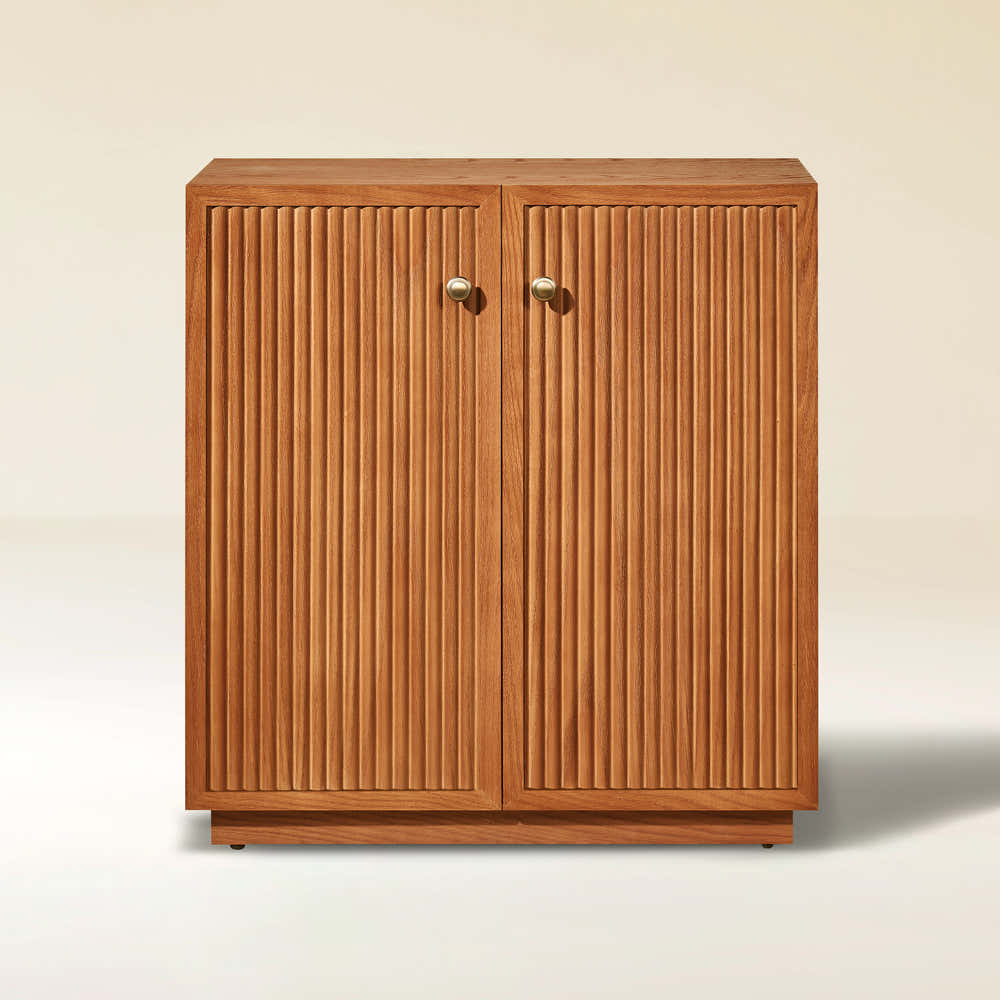
Alvar Arched 61" Oak Sideboard with Drawers(Set of 2)

Alvar Arched 91″ Oak Modular Media Console(Set of 3)


Charlie Sintered Stone Nightstand 26" W


Ewan 63" Oak Slatted Sideboard Buffet Cabinet

Ewan Sintered Stone Nightstand 26"W

Holt 63″ Solid Oak Console(Set of 2)

Holt 95″ Solid Oak Console(Set of 3)

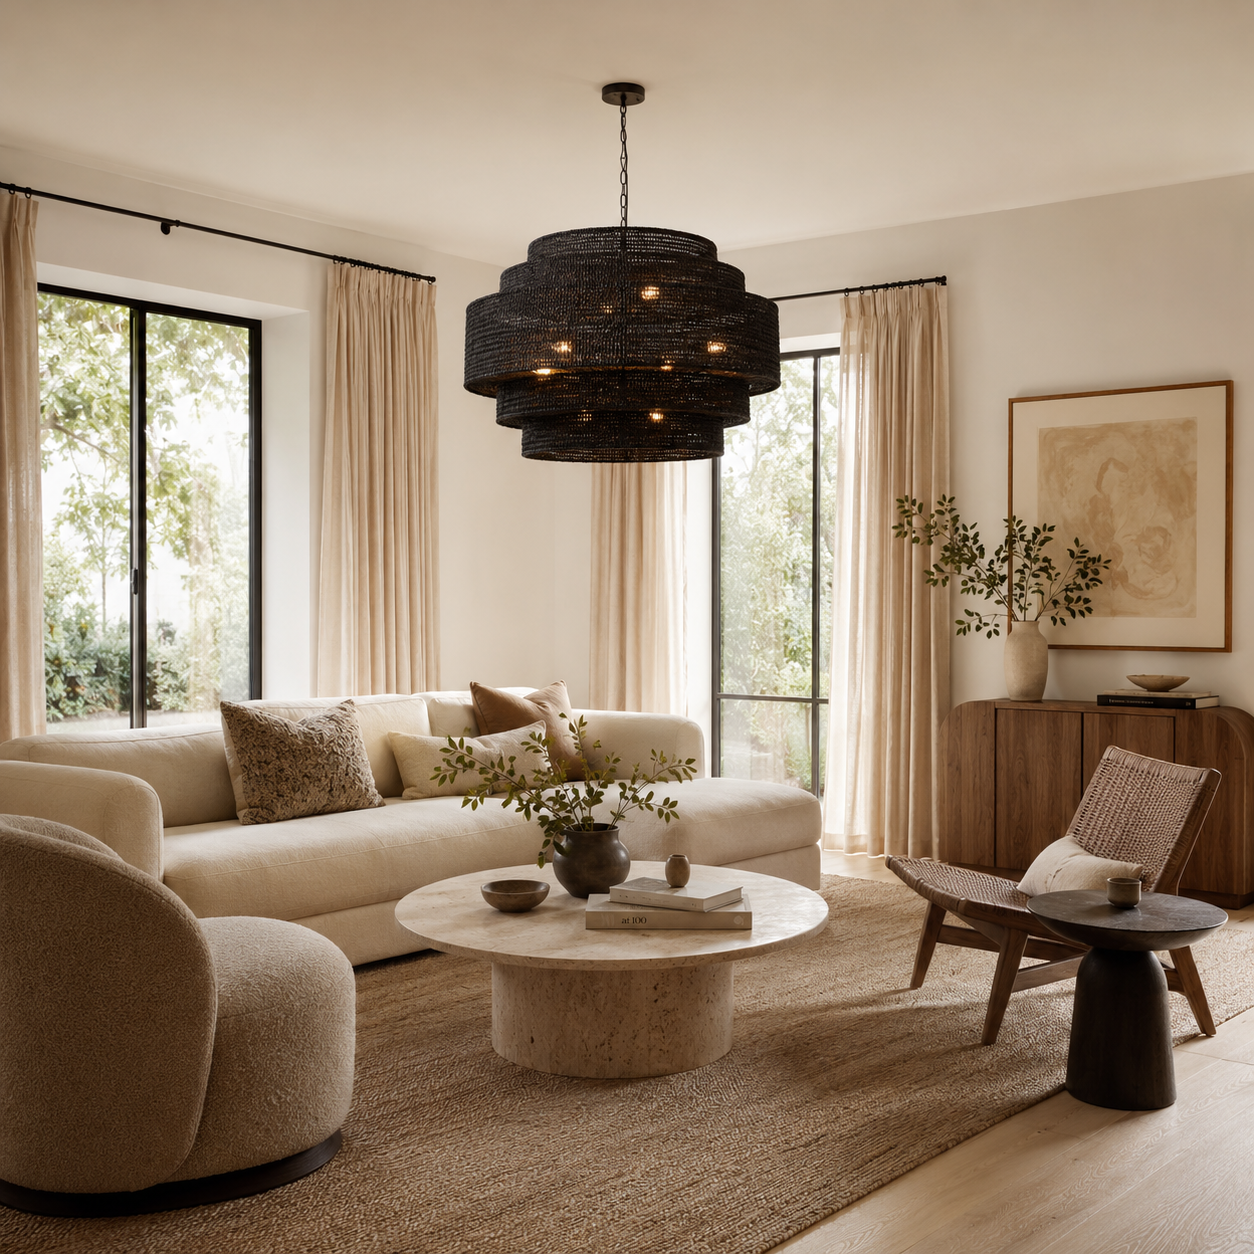
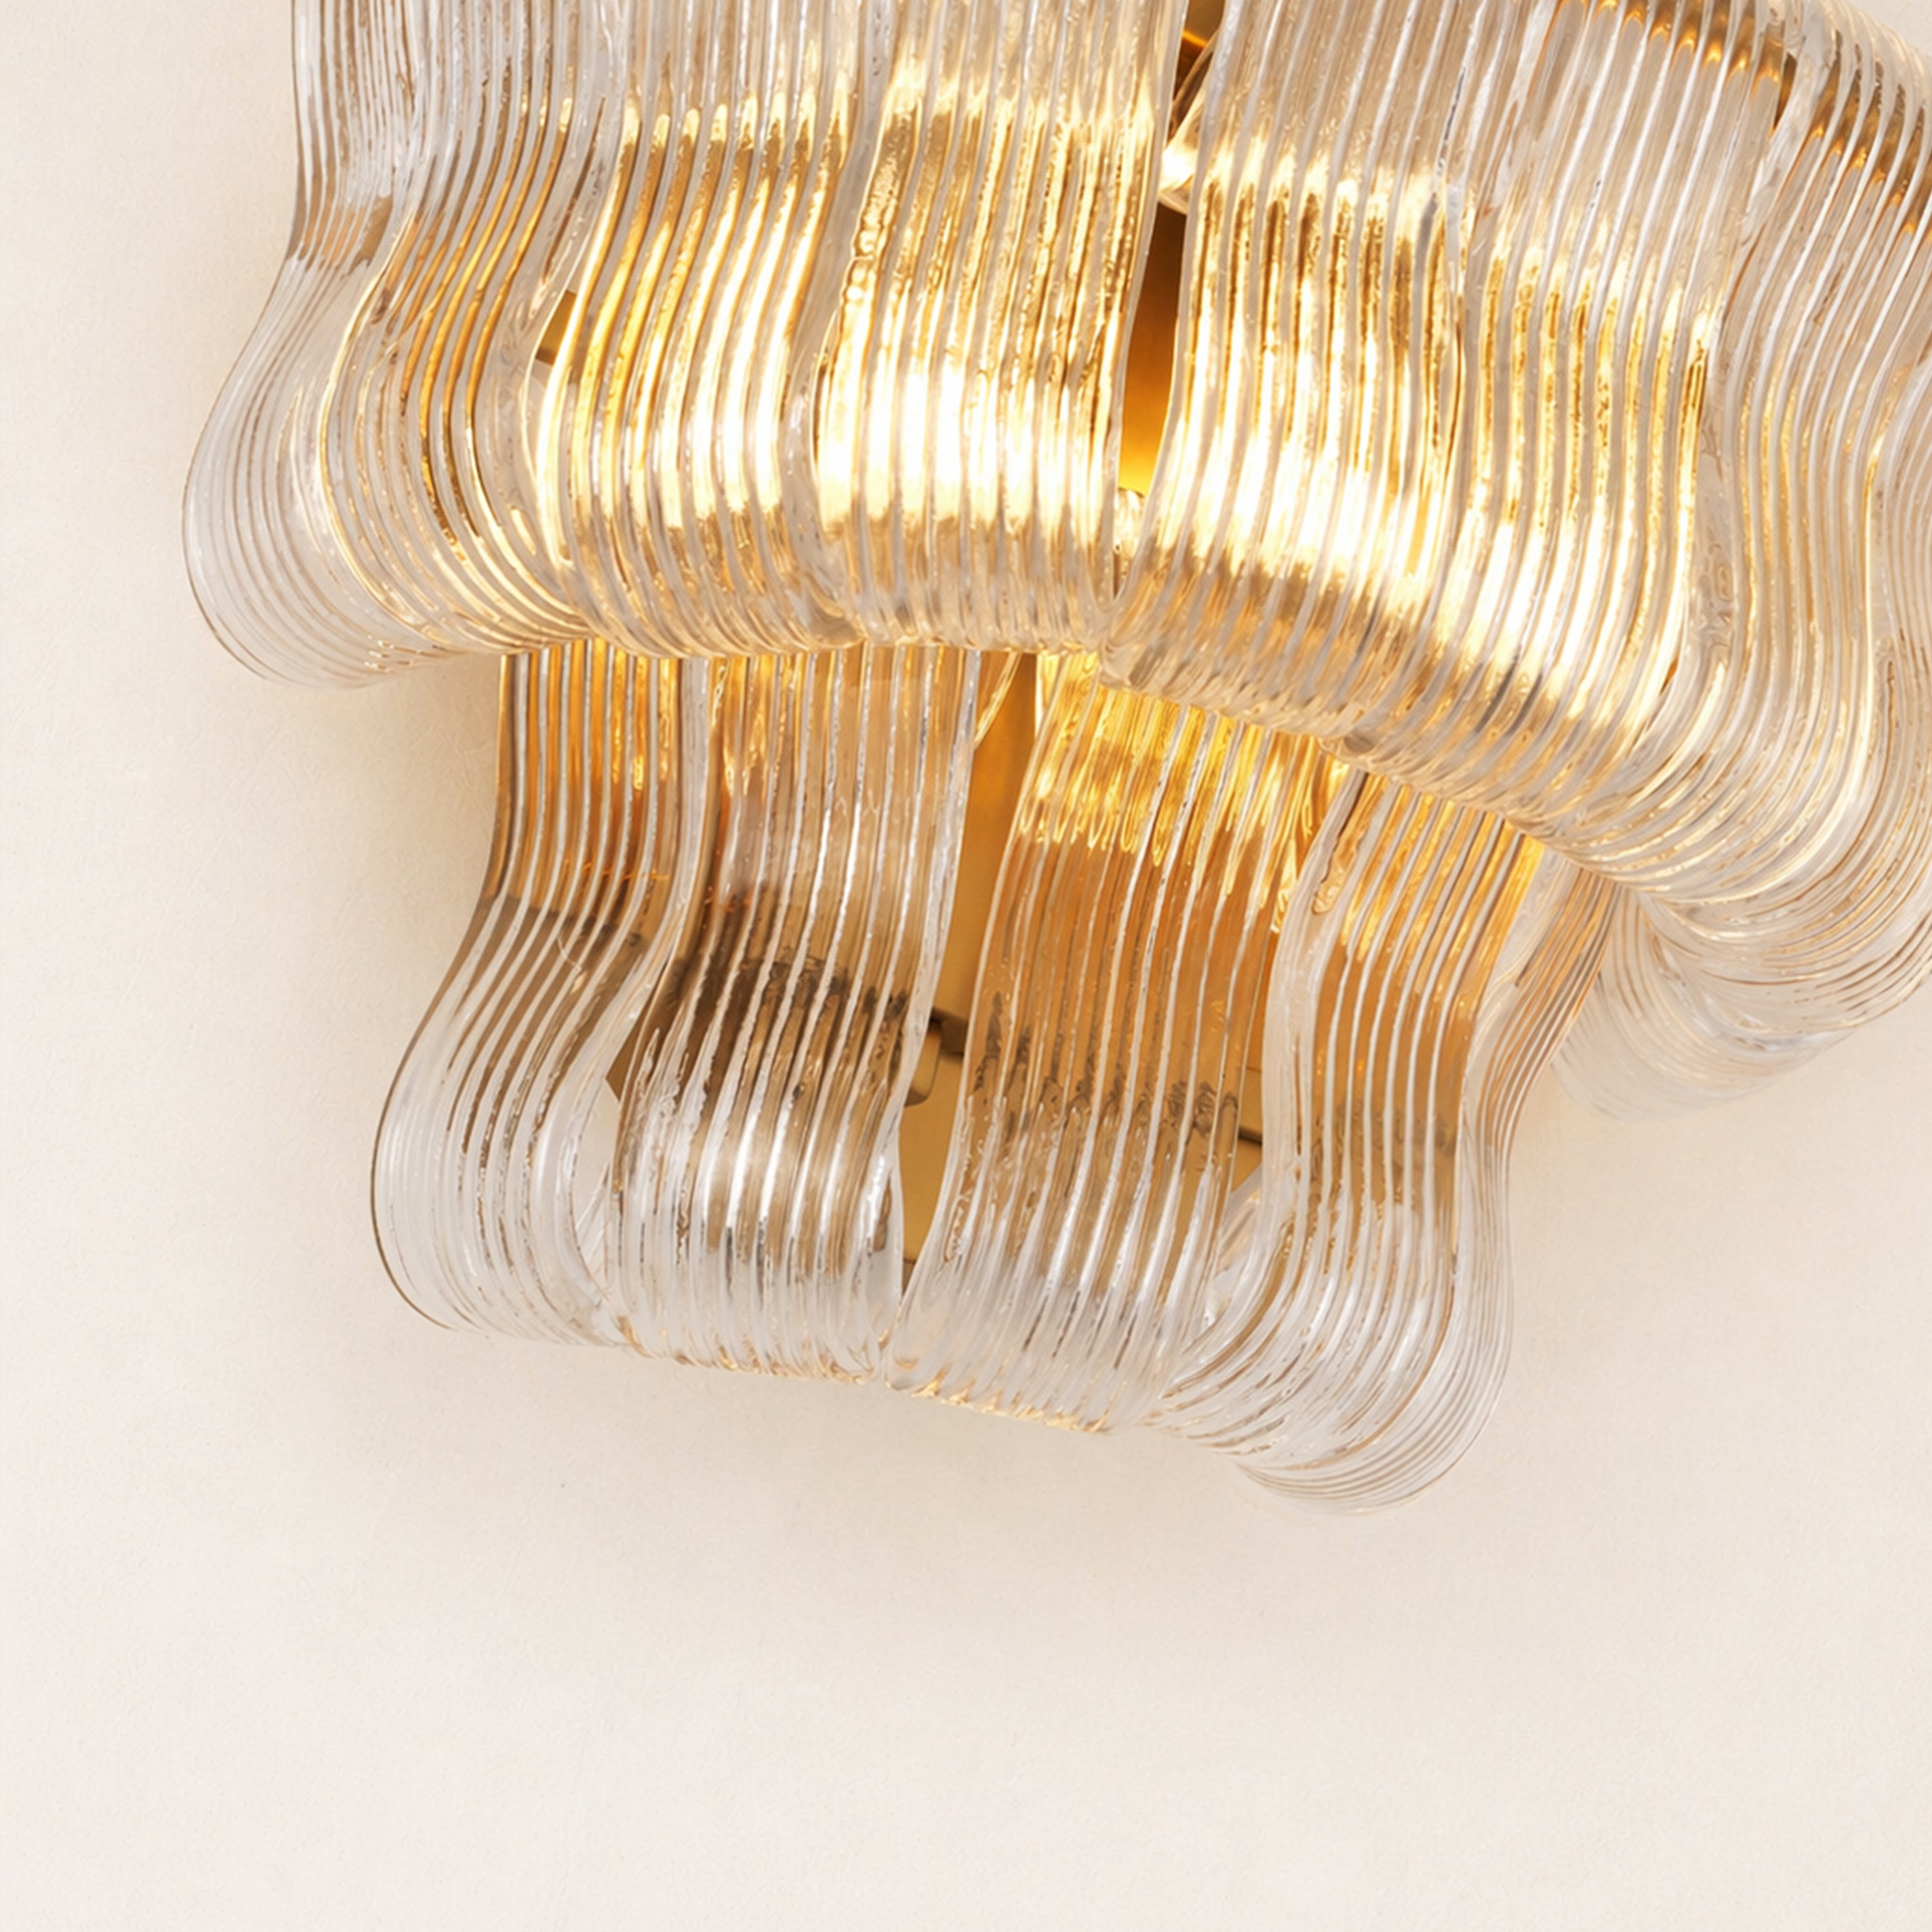
Moira Alabaster Round Chandelier 61cm D


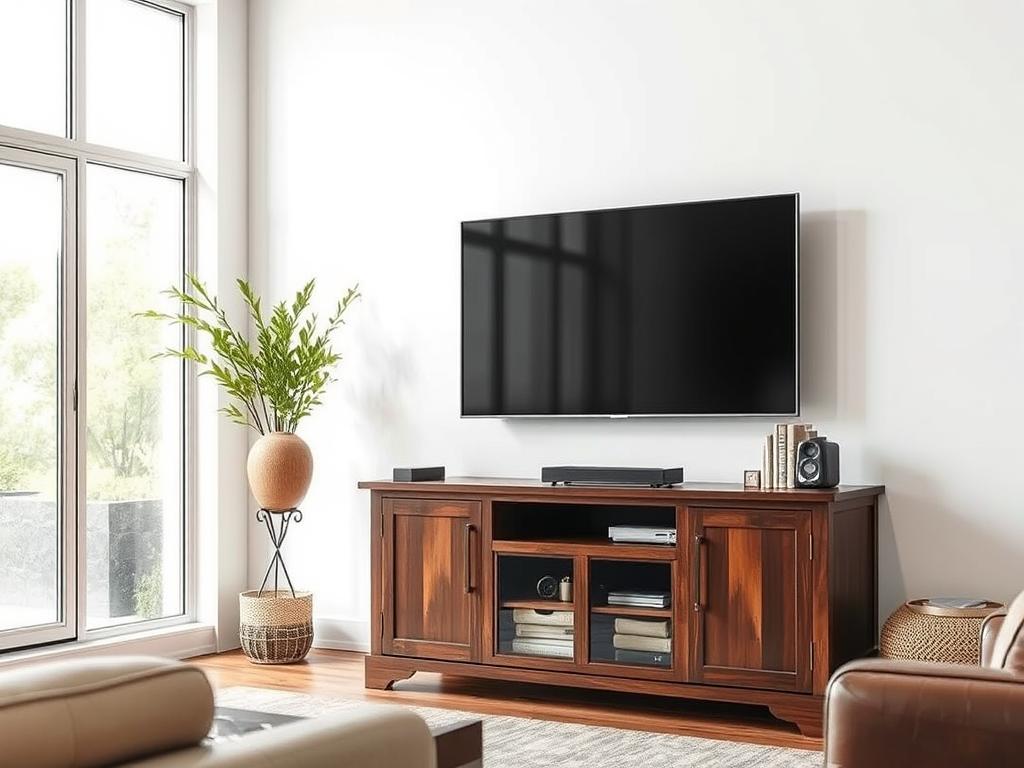
Silas Extendable TV Stand 203cm to 280cm


Alvar Arched 91″ Oak Media Console(Set of 3)

Ewan Oak Extendable Media Console 79" to 110"

Holt 126″ Solid Oak Console(Set of 4)

FSC FCOC47059 . FSC is dedicated to the promotion of responsible forest management
worldwide. By selecting this product, you help take care of the woorld's forests

UL-certified for indoor drying environments not directly exposed to excessive moisture or water;
Use in the United States and Canada.

Certified to Dry ETL electrical standard: suitable for use indoors in dry locations not directly exposed to excessive moisture and water
Use in the United States

CE-certified drying equipment compliant with electrical standards: Suitable for indoor drying environments not directly exposed to excessive moisture or water;
Tested for use in Europe, the UK, and other regions.


The support center has answers to questions you may have. You can also contact customer service in the support center if you can't find what you're looking for.
Support Center >
At houlte, we are committed to delivering quality, style, and great value to our customers. Our goal is to simplify your shopping experience by providing competitive prices and exceptional service.

If an item you purchased from houlte goes on sale on our website within 30 days of your purchase date, you may request a price match. This policy ensures you always receive the best value when shopping with us.
Houlte reserves the right to interpret and adjust the terms of the Price Match Policy as necessary.
Houlte has partnered with Taskrabbit to make your everyday life at home easier by connecting you with flexible and affordable ways to get your to-do’s done including furniture assembly and mounting.

1. Purchase your furniture at Houlte.
2. Check your order Dispatched and Delivered email and click the
Houlte link. You will be redirected to Taskrabbit's landing page.
3. Post your task on Taskrabbit platform.
4. Pick the best tasker to assemble your furniture.
Houlte has partnered with Taskrabbit to make your everyday life at home easier by connecting you with flexible and affordable ways to get your to-do’s done including furniture assembly and mounting.
Taskrabbit Assembly is available in most metro areas in the US. The availability of Taskers varies based on demand. When placing an order on Taskrabbit, you will need to enter your zip code. If the service is not supported in your area, you will not be able to place an order.
You can book assembly for your Houlte furniture as early as the next day after your delivery, and up to 14 days in advance, giving you flexibility to choose a time that works best for you.

Ready to use out of the box; minimal installation may be required (e.g., handles).

Main structure is pre-built; minor components require attachment (e.g., legs).

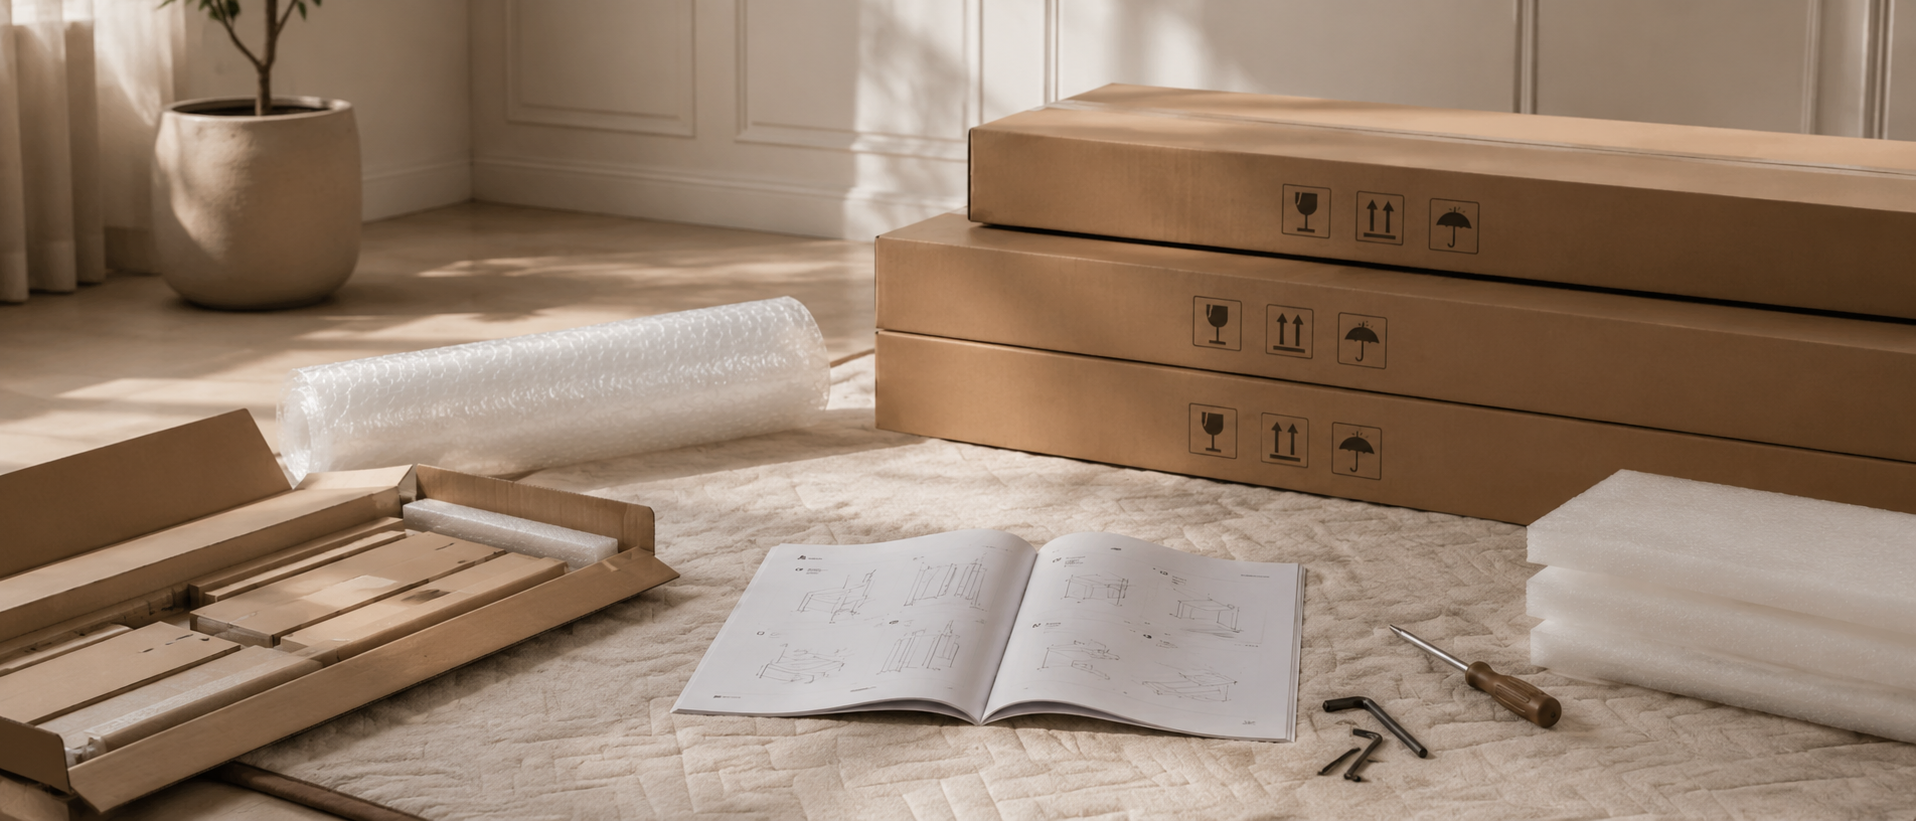
Assembly required; multiple parts must be assembled before use.
Our furniture is built with a combination of core boards, real wood veneers, and selected solid wood parts. Each material is used for a different purpose—structure, surface appearance, or visible strength—so the final piece feels balanced in performance, finish, and cost.
Core boards form the internal foundation of the furniture. They provide structure, stability, and efficiency across large surfaces and cabinet bodies.

Stable structural board

Smooth and consistent

Functional internal board
Selected solid wood parts are used where visible strength, tactile quality, and structural integrity matter most—such as legs, frames, trim, and exposed support details.

Durable and classic

Light and versatile

Premium and elevated
Home comfort starts with thoughtful placement. Many homeowners ask a simple question: what height creates a balanced look over a console while protecting neck and eye comfort. A common rule places the center of the screen near 42 inches from the floor for seated viewing.
That starting figure adjusts for seating height, viewing distance, room layout, mount type, and personal preference. Aim to keep vertical viewing angle under 15° and horizontal under 40° to reduce strain and improve the viewing experience.

When placing the display above a console, allow 4–6 inches clearance or up to 6–12 inches if decor or equipment needs space. This guide offers simple measurement steps, size-by-size examples, and tips on tilt and full-motion mounting to fine-tune the angle.
At Houlte, we craft pieces that blend comfort and style and ship reliably across the US, Canada, and the UK. Use these guidelines as a starting point and tailor placement to your habits, furniture, and room factors for the best result.
Houlte’s designs favor harmony and comfort, so begin with a simple reference and then refine placement to match your room and seating. This quick guide gives a practical baseline and clear, user-focused adjustments for everyday use.
Professionals often set the center screen at about 42 inches from the floor center as a reliable starting point. Use that rule thumb to speed decisions, then tailor the final spot to your furniture and sightlines.
Align the screen with average seated eye level to support good posture and reduce neck strain. Aim for vertical viewing angle under 15° and keep horizontal viewing angles within 40° for stable, comfortable viewing.
Raise the set if you have a tall console, mixed seating, or must place it over a fireplace; add a tilt or drop-down mount to restore proper level. Lower the center when sofas sit very low or when floor cushions are the norm.
A deliberate space between the cabinet top and screen makes the whole wall feel balanced and functional. Keep clearances tidy to showcase both your console and your screen as a unified focal point. Below are practical rules to protect electronics, improve the viewing experience, and support neat cable routing.

Start with 4–6 inches between the top of the furniture and the bottom edge of the screen to avoid a cramped look and allow airflow. Increase that gap to 6–12 inches when adding a soundbar, set-top box, or decorative items.
Coordinate the gap with your inches floor center target so the center screen stays near seated eye level. Plan routing: if wires stay on-surface, place the setup near outlets and hide runs with paintable covers.
| Use case | Recommended clearance | Why it matters |
|---|---|---|
| Minimal setup | 4–6 inches | Good airflow, clean sightline |
| With soundbar or devices | 6–12 inches | Room for components and heat dissipation |
| Non in-wall wiring | Place near outlet | Easier cable concealment and tidy wall |
Translate comfort into clear marks with a few fast measurements that turn design intent into an exact floor-to-center target.
Sit in your main seat and measure from the floor to your eye level. Record that number — it is the starting point for comfortable viewing.
Halve the total screen height to find its center. Align that midpoint with your eye level mark or use the 42" rule as a fallback. Convert this into a floor-to-center measurement for bracket placement.
Estimate ideal viewing distance by dividing the diagonal by 0.55. Examples: 65" ≈ 118" (~9.8 ft), 55" ≈ 100", 43" ≈ 78". Check that your sofa fits this distance and tweak the height slightly if seating sits much farther away.
Keep vertical viewing angle under 15° and horizontal under 40° to limit neck strain. Mock up the screen with tape, test glare and lighting, then note final floor-to-center and bracket-hole positions on painter’s tape before drilling.
Several practical elements shape the final placement, from seating layouts to the mount's flexibility.

Different seats create different eye levels. In mixed rooms with sofas, stools, and floor cushions, average the eye heights or prioritize the main seat.
Bigger screens often sit a bit higher in practice. Match size with viewing distance to keep the center near seated sightlines.
Choose mounts that fit the space. Tilting brackets cut glare and help when placement is forced upward. Full-motion arms include side viewers without odd angles. Drop-down arms work for hearths.
Recliners and frequent lounging call for slight height changes or stronger tilt. Test with tape and live with the setup a few days, then tweak.
| Factor | Typical effect | Recommended action |
|---|---|---|
| Seating mix | Varied eye heights | Average or prioritize main seat |
| Room layout | Walls, windows, fireplace limits | Shift wall or use adjustable mount |
| Mount type | Adjustability for angle | Pick tilt/full-motion/drop-down by need |
Choosing a floor-to-center target depends on screen diagonal, seating, and room balance.
Use simple presets to speed decisions. Typical floor-to-center heights often used in projects are: 56" for a 43" display, 61" for 55", 65" for 65", and 67" for 70". These examples assume average sofas and eye levels.
Presets are helpful, but validate against your seated eye level. The conventional 42" rule thumb remains a solid baseline when seating or room proportions differ.
| Screen size | Approx. inches floor center | When to adjust |
|---|---|---|
| 43" | 56" | Lower if sectional is very low |
| 55" | 61" | Taller console or taller viewers |
| 65" | 65" | Shift up slightly for balance |
| 70"+ | 67"+ | Use tilt if placed a touch high |
Keep viewing ergonomics in mind. Larger screens can sit a bit higher for proportion, but stay within comfortable angles. A tilting bracket can turn a slightly high mounted screen toward viewers and reduce strain.
Houlte recommends starting with these guidelines, then personalizing placement to match your furniture, posture, and style for lasting comfort and balance.
Place and angle choices change with the room’s role. Living spaces used for gatherings favor centered sightlines at sofa height, while bedrooms and hearth areas need special attention to angle, heat, and convenience.
Aim the screen center near 40–42 inches from the floor for standard sofas. This keeps the main seating at a natural viewing level and limits neck strain.
Check viewing distance against screen size so images feel immersive without forcing forward posture. For side seats, choose full-motion mounts to swing the display toward different viewers.
Bedrooms usually need a taller floor-to-center target, often around 50 inches, since heads rest on pillows and headboards raise eye level.
Add a slight downward angle to match reclined viewing. Small tilt changes can reduce neck strain during long watching sessions and improve overall comfort.
Confirm the wall surface above the mantel stays within the display’s safe temperature limits and is free of soot exposure. Protect electronics and finishes when fireplaces are used often.
If the mantle forces a taller placement, pick a high mount with a drop-down or tilting function. Lower the screen for viewing, then return it to a stowed position afterward.
| Room | Typical floor center | Recommended mounts |
|---|---|---|
| Living room | 40–42 inches | Fixed or full-motion for side viewers |
| Bedroom | ~50 inches | Tilt or articulating for reclined viewing |
| Fireplace wall | Varies (use drop-down) | High mount with drop-down or tilt |
Deciding on the correct mount and following safe installation steps makes the experience smooth and durable. First pick a mount type that matches room use, seating layout, and the planned height. Next, prepare the wall and route cables so final placement looks clean and works well for everyone.
Fixed mounts offer a low profile and minimal movement. They suit straight-on viewing from a main seat.
Tilting mounts let you angle the screen down to reduce glare when placement is taller. They help preserve comfort when the center sits above seated eye level.
Full-motion mounts add reach and swivel. Use them in open plans or when multiple seats need good sightlines.
Find studs with a reliable detector; many homes use 16-inch on-center spacing, but older work varies. Fasten into studs when possible.
If studs are absent, pick heavy-duty anchors rated for your wall type and the mounting weight. Toggle anchors, masonry anchors, or threaded anchors must match drywall, plaster, or brick.
| Task | Key check | Why it matters |
|---|---|---|
| Match VESA & weight | Confirm pattern and rating | Prevents failures and fit issues |
| Pilot holes & leveling | Dry-fit plate; mark center height | Ensures the center aligns with planned inches |
| Cable routing | In-wall kit or paintable cover | Keeps lines tidy and avoids port strain |
Use a level before drilling and again after tightening. Bolts can shift as they cinch down, changing final placement.
Route power and signal cables with in-wall kits where legal, or hide runs with covers. Test viewing from multiple seats and tweak tilt or swivel to keep angles comfortable.
Address glare by adjusting angles, adding window treatments, or moving light sources. For a stress-free setup, Houlte ships mounts and accessories from North American and UK warehouses to help complete installation quickly.
The right final position comes from testing marks in the room and trusting what feels natural. Start with the 42 inches floor-to-center baseline, keep 4–6 inches clearance (6–12 inches if devices or decor need space), and check viewing distance by dividing diagonal ÷ 0.55. These quick measurements make measurement repeatable and practical.
Keep vertical angles under 15° and horizontal under 40° to protect neck comfort and reduce strain. When placement is forced upward, use a high mount with tilt or a drop-down to restore comfortable viewing. Confirm cable paths, wall anchors, and level during installation to lock in a tidy result.
With small tests from your main seat and a few smart adjustments, you’ll create a refined viewing experience that looks great and feels right. At Houlte, we help source the right mounts, furniture, and accessories so your comfortable viewing lasts.
Share:
How to Decorate a Media Console: Style Ideas
Media Console Size Guide: How Big Should Media Console Be