


Alvar 61″ Oak 6-Drawer Chest(Set of 2)


Alvar Arched 61" Oak Sideboard with Drawers(Set of 2)

Alvar Arched 91″ Oak Modular Media Console(Set of 3)


Charlie Sintered Stone Nightstand 26" W


Ewan 63" Oak Slatted Sideboard Buffet Cabinet

Ewan Sintered Stone Nightstand 26"W

Holt 63″ Solid Oak Console(Set of 2)

Holt 95″ Solid Oak Console(Set of 3)

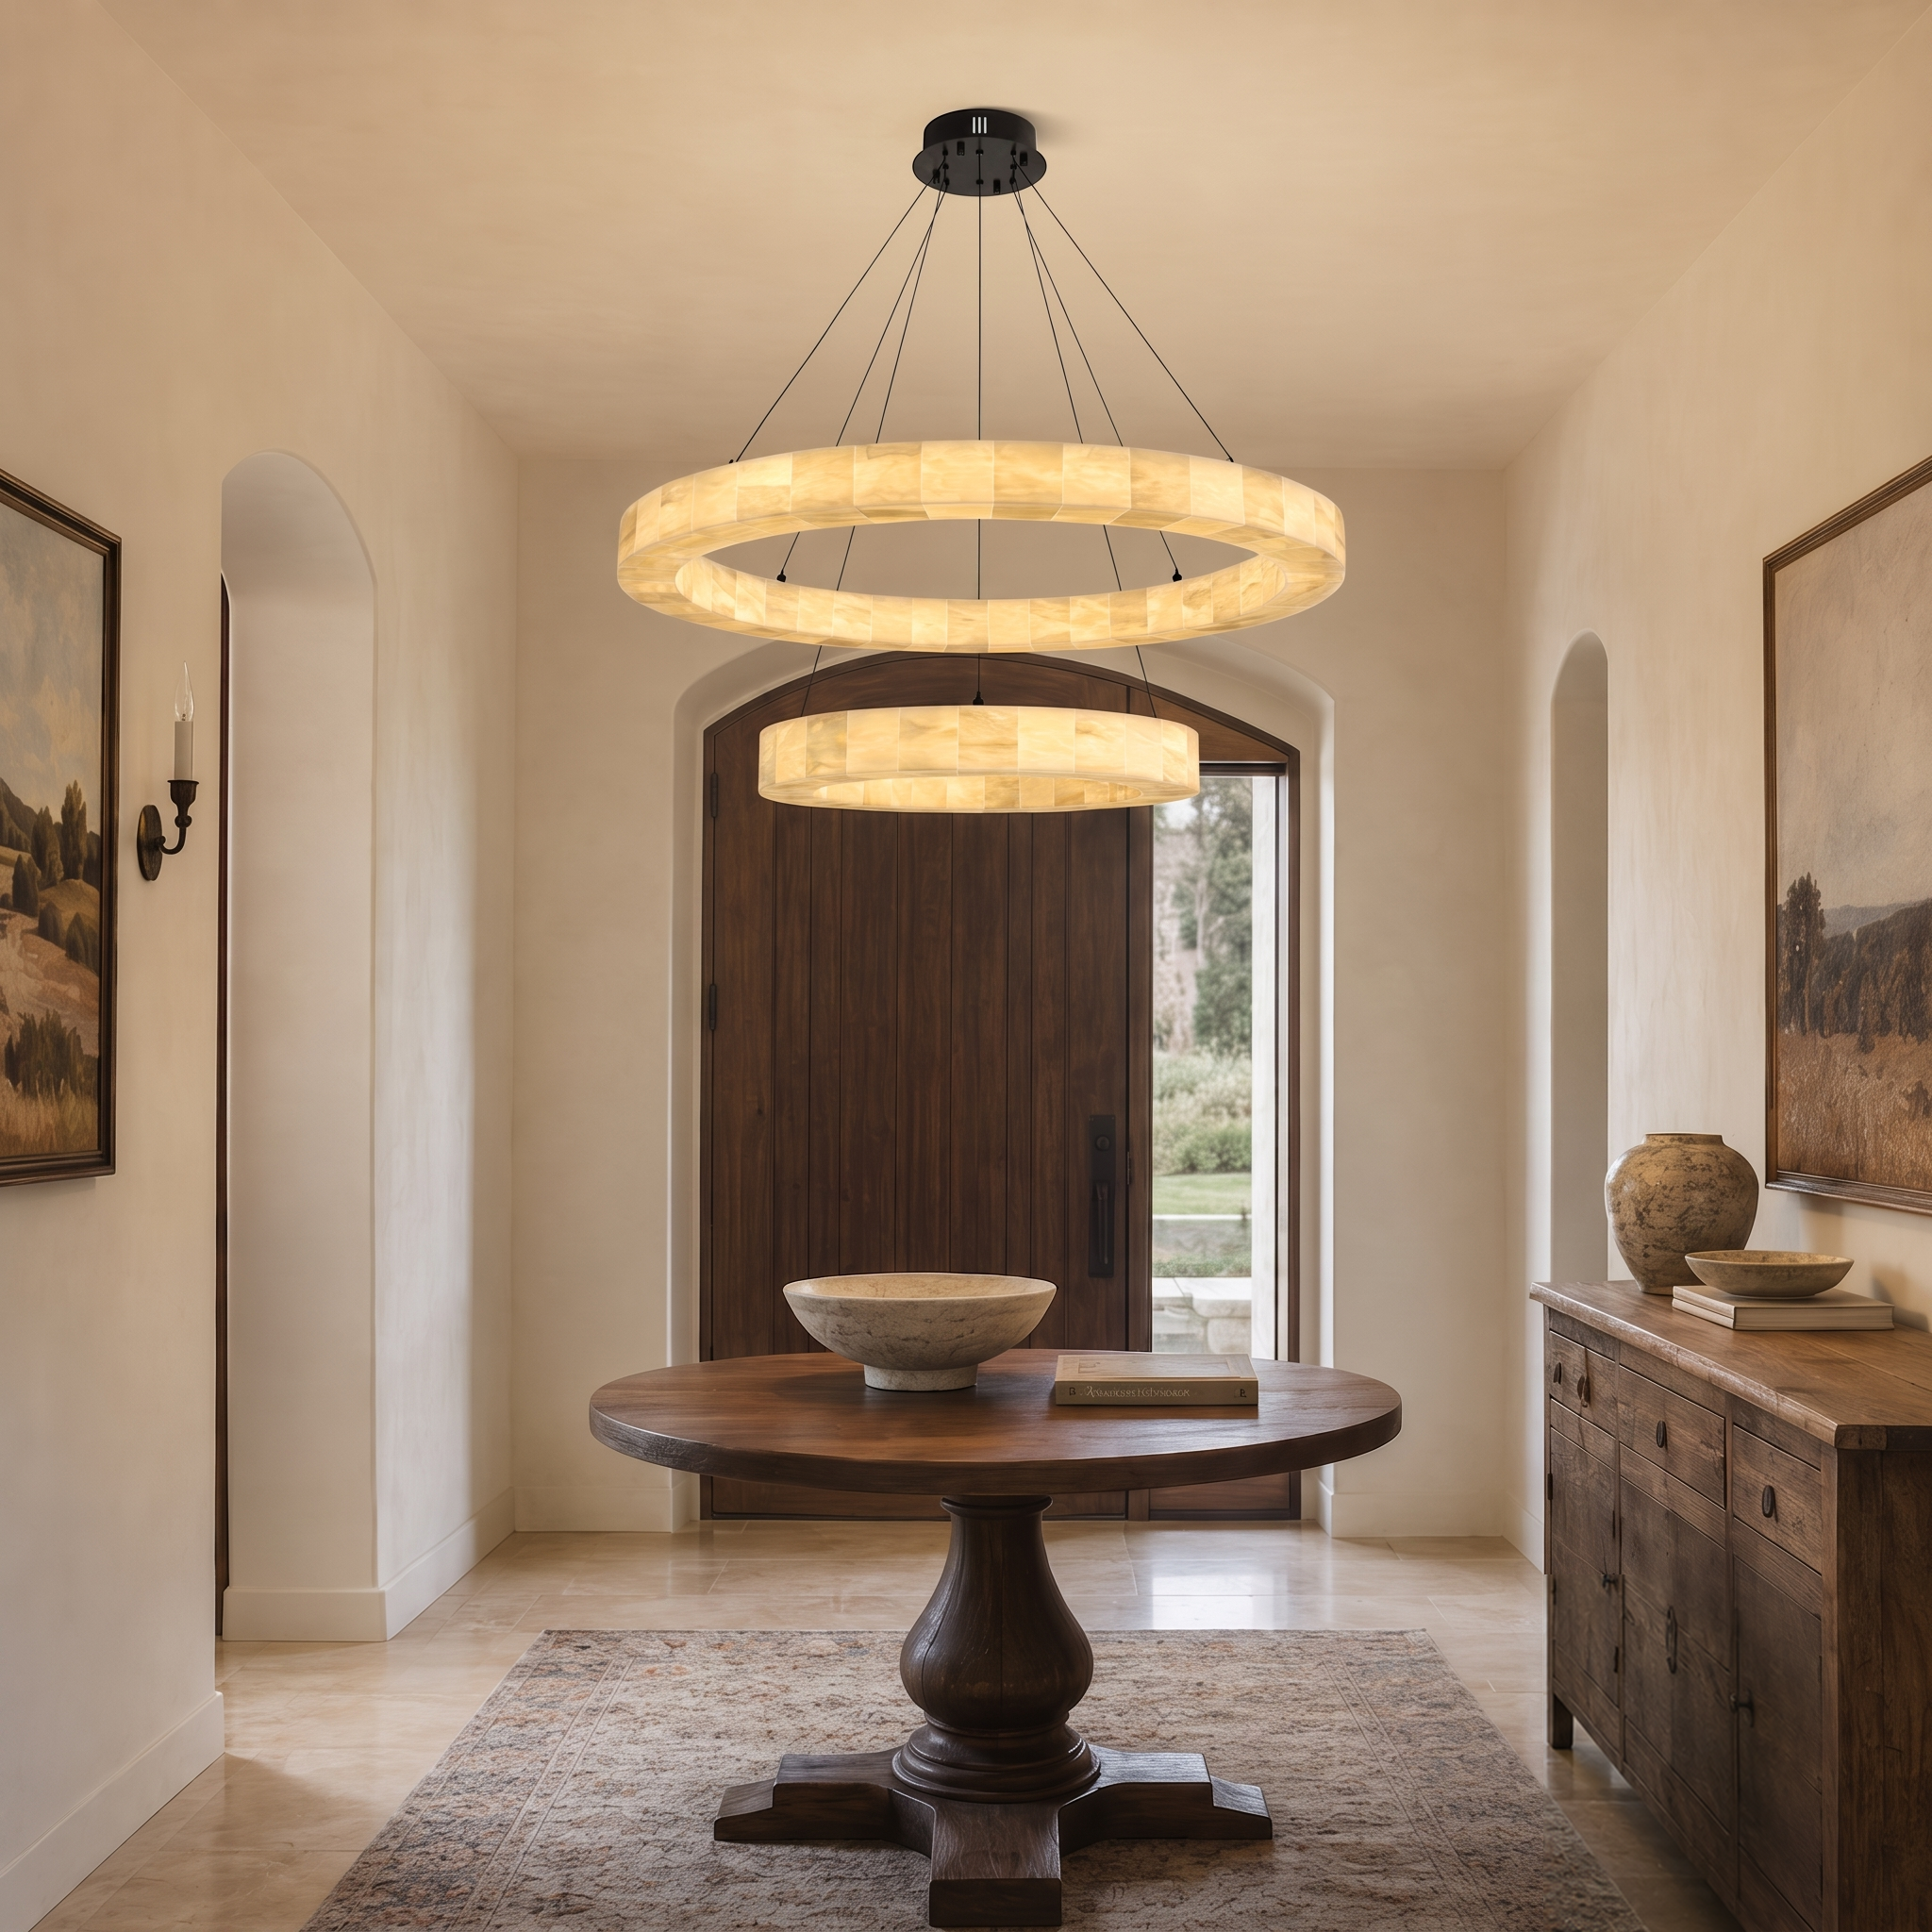
Moira Alabaster Round Chandelier 61cm D


Silas Extendable TV Stand 203cm to 280cm


Alvar Arched 91″ Oak Media Console(Set of 3)

Ewan Oak Extendable Media Console 79" to 110"

Holt 126″ Solid Oak Console(Set of 4)

FSC FCOC47059 . FSC is dedicated to the promotion of responsible forest management
worldwide. By selecting this product, you help take care of the woorld's forests

UL-certified for indoor drying environments not directly exposed to excessive moisture or water;
Use in the United States and Canada.

Certified to Dry ETL electrical standard: suitable for use indoors in dry locations not directly exposed to excessive moisture and water
Use in the United States

CE-certified drying equipment compliant with electrical standards: Suitable for indoor drying environments not directly exposed to excessive moisture or water;
Tested for use in Europe, the UK, and other regions.


The support center has answers to questions you may have. You can also contact customer service in the support center if you can't find what you're looking for.
Support Center >
At houlte, we are committed to delivering quality, style, and great value to our customers. Our goal is to simplify your shopping experience by providing competitive prices and exceptional service.

If an item you purchased from houlte goes on sale on our website within 30 days of your purchase date, you may request a price match. This policy ensures you always receive the best value when shopping with us.
Houlte reserves the right to interpret and adjust the terms of the Price Match Policy as necessary.
Houlte has partnered with Taskrabbit to make your everyday life at home easier by connecting you with flexible and affordable ways to get your to-do’s done including furniture assembly and mounting.

1. Purchase your furniture at Houlte.
2. Check your order Dispatched and Delivered email and click the
Houlte link. You will be redirected to Taskrabbit's landing page.
3. Post your task on Taskrabbit platform.
4. Pick the best tasker to assemble your furniture.
Houlte has partnered with Taskrabbit to make your everyday life at home easier by connecting you with flexible and affordable ways to get your to-do’s done including furniture assembly and mounting.
Taskrabbit Assembly is available in most metro areas in the US. The availability of Taskers varies based on demand. When placing an order on Taskrabbit, you will need to enter your zip code. If the service is not supported in your area, you will not be able to place an order.
You can book assembly for your Houlte furniture as early as the next day after your delivery, and up to 14 days in advance, giving you flexibility to choose a time that works best for you.

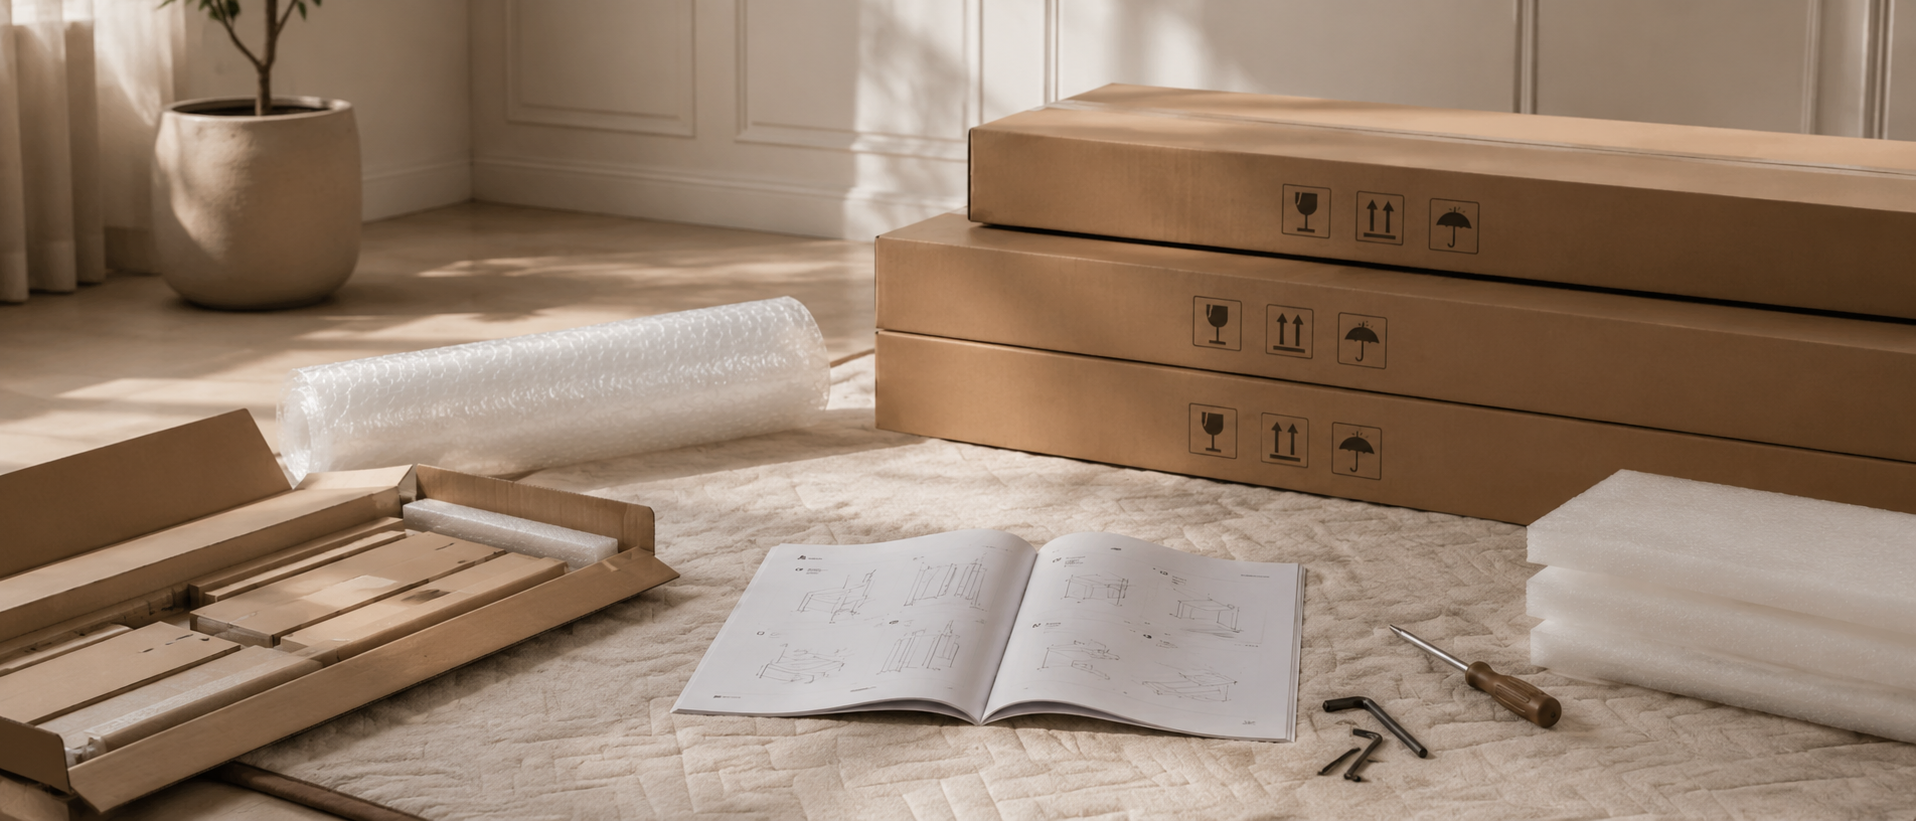
Ready to use out of the box; minimal installation may be required (e.g., handles).

Main structure is pre-built; minor components require attachment (e.g., legs).

Assembly required; multiple parts must be assembled before use.
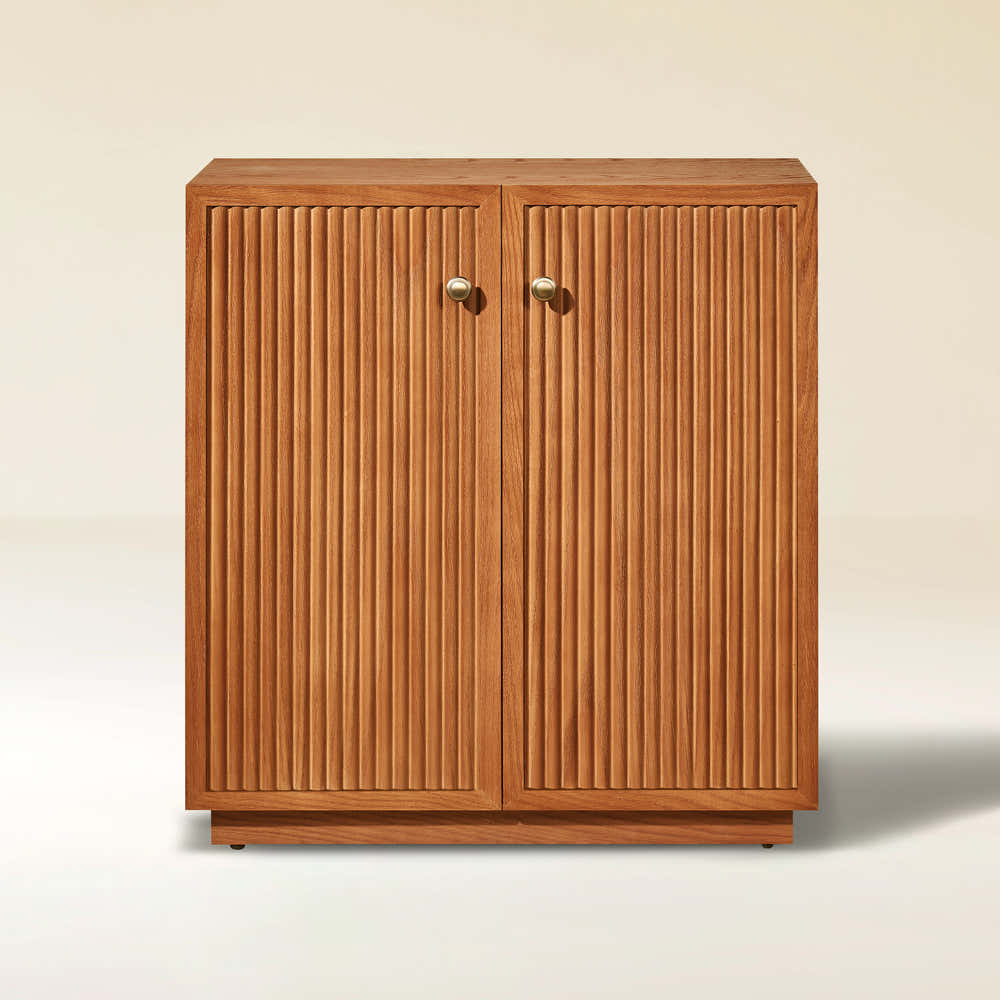
Our furniture is built with a combination of core boards, real wood veneers, and selected solid wood parts. Each material is used for a different purpose—structure, surface appearance, or visible strength—so the final piece feels balanced in performance, finish, and cost.
Core boards form the internal foundation of the furniture. They provide structure, stability, and efficiency across large surfaces and cabinet bodies.

Stable structural board

Smooth and consistent

Functional internal board
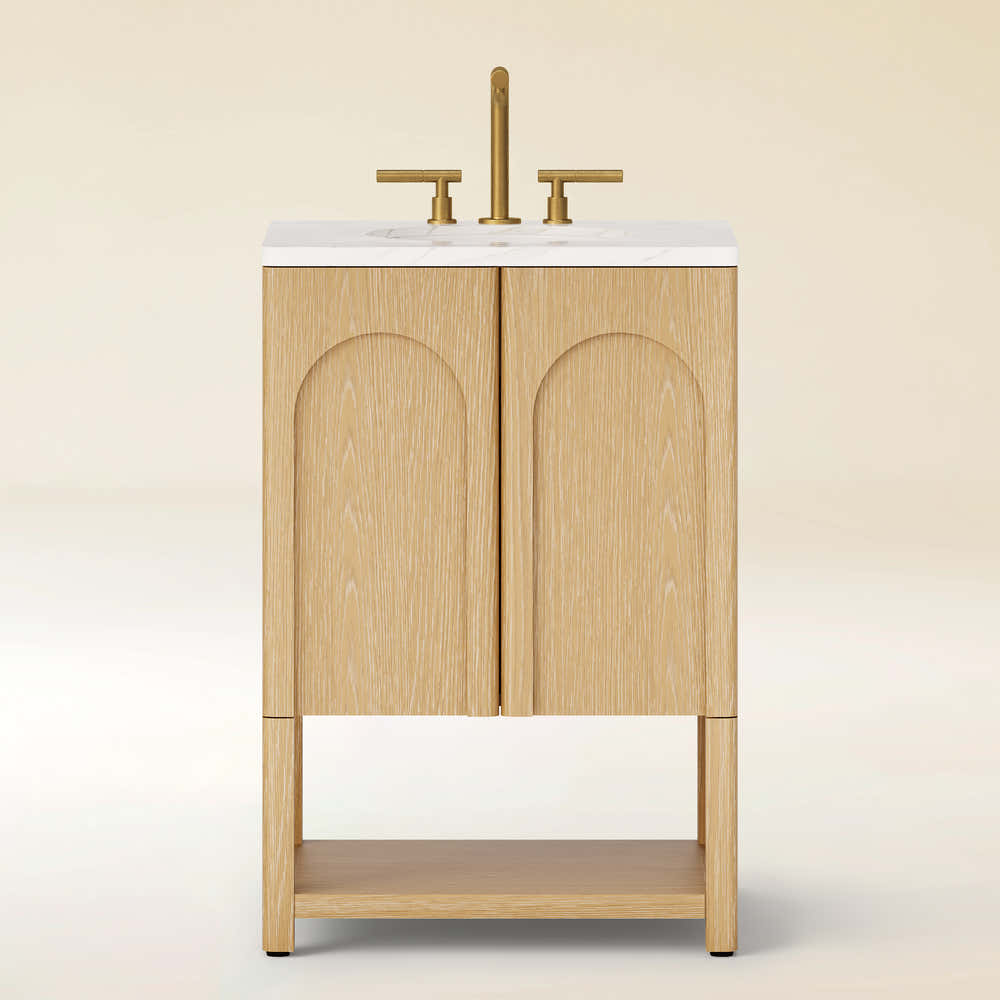
Selected solid wood parts are used where visible strength, tactile quality, and structural integrity matter most—such as legs, frames, trim, and exposed support details.

Durable and classic

Light and versatile

Premium and elevated
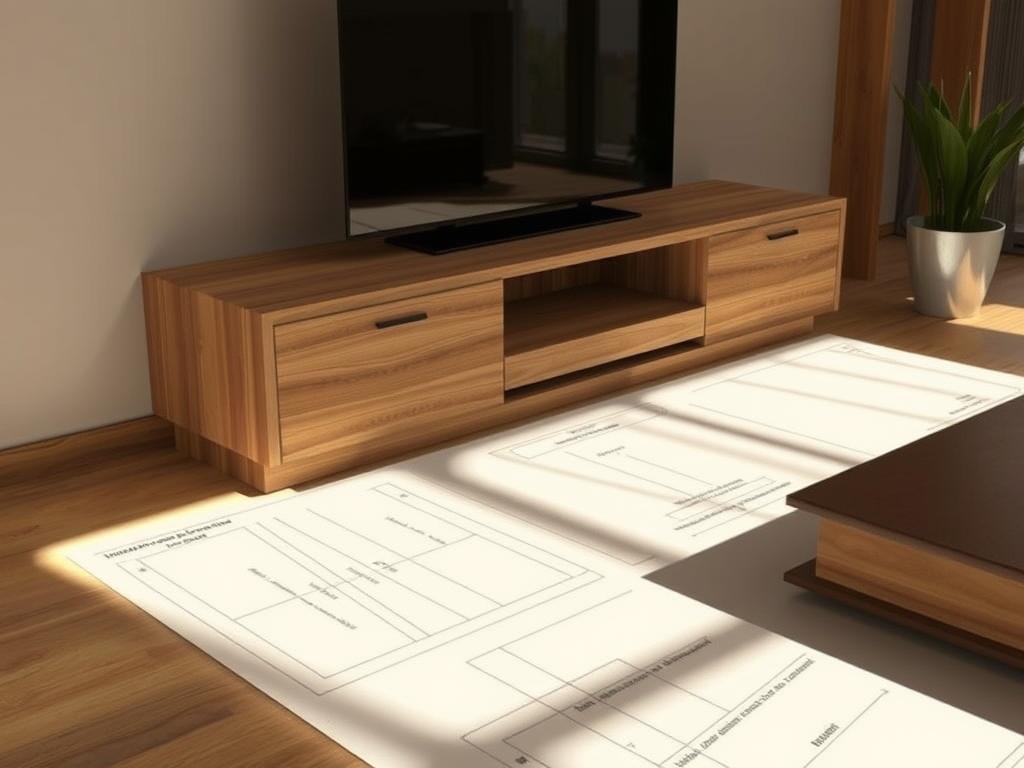
Start this furniture project with clear plans and realistic time estimates. You will practice measuring, cutting, joining, and finishing while working with cabinet-grade plywood, edge banding, and concealed hinges. Typical sizes range from 60" W x 20" H x 16" D to 96" W x 28.75" H and can include a walnut top for a premium look.
Expect to use simple tools such as a Kreg hinge jig, clamps, and a router. Costs often fall near $624 for materials and basic jigs, and owning key tools lowers long-term spend on repeat projects. Careful planning makes different styles—streamlined mid-century or storage-forward cabinet designs—easier to execute.
This guide breaks the work into repeatable milestones: read plans, cut parts, assemble the box, fit doors and hinges, treat edges, finish, and set up. Houlte supports makers across the US, Canada, and the UK with fast shipping and thoughtful design that brings comfort and harmony into the home.

A good project begins with scaled plans, material lists, and an honest estimate of time needed. That foundation keeps each step clear and helps you avoid surprises when working with large plywood panels or hardware.
This is an intermediate cabinet project that rewards precise measuring and square assembly. Expect to spend focused time on cut sequencing, hinge placement, and finishing. Painting or oil finishes add drying time, so plan accordingly.
You will assemble common pieces: two sides, top, bottom, dividers, back panel, shelves, and two to four doors depending on width. Choose adjustable shelf pins when flexibility matters, or fixed shelves for added stiffness.
Dimensions often range from 60" W x 20" H x 16" D up to 96" W x 28.75" H. Depth at 16" balances gear fit with room footprint. Inside layouts usually use two or three compartments; a center divider improves load-bearing and long-span stiffness.
Pick durable sheet goods and solid-wood accents that will stand up to daily use and look refined.
Choose cabinet-grade plywood that matches strength and finish goals. Baltic birch offers stability and cleanliness for carcasses. Prefinished maple sheets make interiors bright and reduce finishing time. PureBond EuroPly Walnut is a premium option for visible faces.
Solid wood tops and trim add character. Consider 6/4 walnut for the top and hard maple for face frames or doors. Mixing species saves cost while keeping a high-end look.
Label each board and group pieces before cutting to save time and reduce errors. Houlte customers across the US, Canada, and the UK benefit from regional fulfillment, helping you receive materials and hardware on schedule for a smooth build.
Start your layout work by studying the drawing set and noting grain direction, part names, and final dimensions.
Read every plan page before cutting. Mark each board face and edge so blade and fence orientation stays consistent. Label parts clearly; matched pieces like opposite sides and paired doors must be cut to identical length.
Trace grain flow and note which edges will be banded or left exposed. For a wrap-style outside box, plan a 16" rip strip and mark bevel lines for 45° cuts that produce continuous grain across side and top surfaces.

At Houlte, we encourage a patient, plan-first approach and reliable shipping so your project flows without delays.
Order matters when you assemble the box. Start with the outside wrap so edges and miters establish the final profile. This reduces tolerance stack-up and lowers the chance of trimming the inside cabinet later by 1/8" or more.
Choose joinery that fits your tools and schedule. Domino mortises speed alignment and make the step fast. Pocket screws give a budget-friendly option and dowels remain a durable, traditional choice.
Use quality wood glue at every structural seam and clamp miters long enough to set. Pre-drill when screws are used so corners pull tight without splitting.
Keep faces and edges referenced for final fit with the face frame and doors. Houlte’s logistics ensure adhesives, joinery supplies, and extra pieces arrive on time for each step of your console cabinet project.
Careful layout of shelf pin rows makes the interior functional and neat.
Many builders prefer drilling shelf pin rows before assembly. Using a Kreg Shelf Pin Jig ensures mirrored alignment on opposing side panels. Double-sided tape and a straight reference strip keep rows consistent and reduce tear-out in prefinished interiors.
Follow this simple step sequence for clean results.
Limit holes in narrow center sections to keep the cabinet tidy. If a fixed shelf is planned, drill only required holes and plug unused positions later. After drilling, break hole edges lightly to prevent chipping when shelves are moved.
| Task | Tool | Tip | Reason |
|---|---|---|---|
| Layout rows | Measuring tape, pencil | Mark start heights consistently | Keeps shelves level and symmetric |
| Drill holes | Kreg Shelf Pin Jig | Use depth stop; test on scrap | Prevents through-drill and fit issues |
| Mirror rows | Reference strip, double-sided tape | Attach strip then align jig | Ensures matching spacing across sides |
| Finish | File or sandpaper | Break edges lightly | Reduces chipping during use |
Careful hinge layout and crisp door fit make a cabinet feel like custom furniture.
Choose a face frame if you want a traditional, furniture-forward look. A face frame gives a defined reveal and works well with inset or partial-overlay doors. Frameless construction keeps lines minimal and favors full-overlay soft-close hardware.

Frameless cabinets pair with clip-top soft-close hinges. Face frame designs often use hinges with slight setback to control the reveal.
Use a concealed hinge jig for clean cup holes. Set the bore depth and setback per the hinge maker before you drill.
Pre-mount hinges on the door, then attach to the cabinet and adjust three-way screws until gaps look even. Sand and ease door edges so movement stays free and the edge won’t bind.
Houlte ships quality fittings across the US, Canada, and the UK so precise hardware setups stay simple and fast. This step gives the cabinet its refined, final presence.
Fine edge work and a well-attached top make the piece read like custom furniture.
Start by applying iron-on banding to exposed plywood edges on shelves and doors. Use a household iron, then roll the banding tight and trim with a flush trimmer. Lightly sand the edge so the face reads smooth under finish.
For a continuous-grain top, joint boards in halves and plane before final gluing. Rout a shallow 45-degree chamfer on the underside. This visually lightens the top and aids the transition into molding and side panels.
Position the top and fasten from inside the box. Drill round holes at the front and elongated slots at the rear. Use washers under screws to spread clamp pressure and avoid crushing plywood faces. Allow the top room to move with changing humidity.
"Clean edges and considered joinery are what make a cabinet feel intentional."
| Task | Tool | Fastener | Tip |
|---|---|---|---|
| Edge banding | Household iron, speed roller | None | Trim flush, ease with light sanding |
| Top assembly | Jointer, planer | Wood glue | Glue in stages for planing, then final-glue |
| Top attachment | Drill, screwdriver | Screws, washers | Front round holes, rear elongated slots |
| Molding fit | Router, used pin nailer | Small brads while glue sets | Mill profiles from maple if needed |
Finish work transforms raw panels into a living-room piece that feels deliberate and durable.
Sand progressively and wipe dust from every surface. Mask the inside if you want pristine cabinet interiors and to avoid overspray.
For painted finishes, Benjamin Moore Advance (satin) gives a hard-wearing surface. For natural wood, use Rubio Monocoat or Walrus Oil Furniture Butter on the top and visible faces.
Respect curing time—dry-to-touch is not ready for hinge screws. Install hinges and screws only after the finish cures per manufacturer directions.
Use a template for pulls and check door swing and reveals. Level the console in the room and add adjustable feet or felt pads to protect floors.
Plan holes along the back or divider for neat cable routing. Use grommets to stop abrasion and drill ventilation holes where equipment generates heat.
Attach the top from inside the box. Use round front holes and elongated rear slots, plus washers under screws, to allow seasonal movement.
| Step | Product/Tool | Key action | Reason |
|---|---|---|---|
| Prep & sand | 120–220 grit, tack cloth | Progressive sanding and dust removal | Smooth base for uniform finish |
| Finish | Benjamin Moore Advance / Rubio Monocoat | Spray or roll; mask inside | Durability or natural look |
| Top attachment | Screws, washers, drill | Round front holes; elongated rear slots | Allows seasonal movement |
| Cable & ventilation | Drill, grommets | Pass-throughs and vents | Protect wires and improve airflow |
Houlte’s commitment to harmony means finishes that feel great to the touch and reliable shipping so your console cabinet arrives on schedule and enhances your room without delays.
A thoughtful finish and careful fit are the final steps that turn parts into lasting furniture.
Recap your journey: clear plans, accurate cuts, outside-first wrap, precise cup-hole drilling with a hinge jig, and clean edge banding. These proven moves yield a cabinet that looks and works like fine furniture.
Adapt dimensions and plywood species for your room and storage needs. Allow proper cure time for finish and fasteners; patience saves repair time later.
Integrate cable management and ventilation early. Save templates and notes on hardware placement and top attachment for future service.
Use these steps as a springboard for other projects. With care and measured work, you will craft a satisfying console cabinet or top cabinet that reflects your style and supports daily life. Houlte ships materials worldwide and stands ready to support your next build.

Share:
How Tall Should a Media Console Be for Your TV?
How to Make a Media Console: A Step-by-Step Tutorial