


Alvar 61″ Oak 6-Drawer Chest(Set of 2)


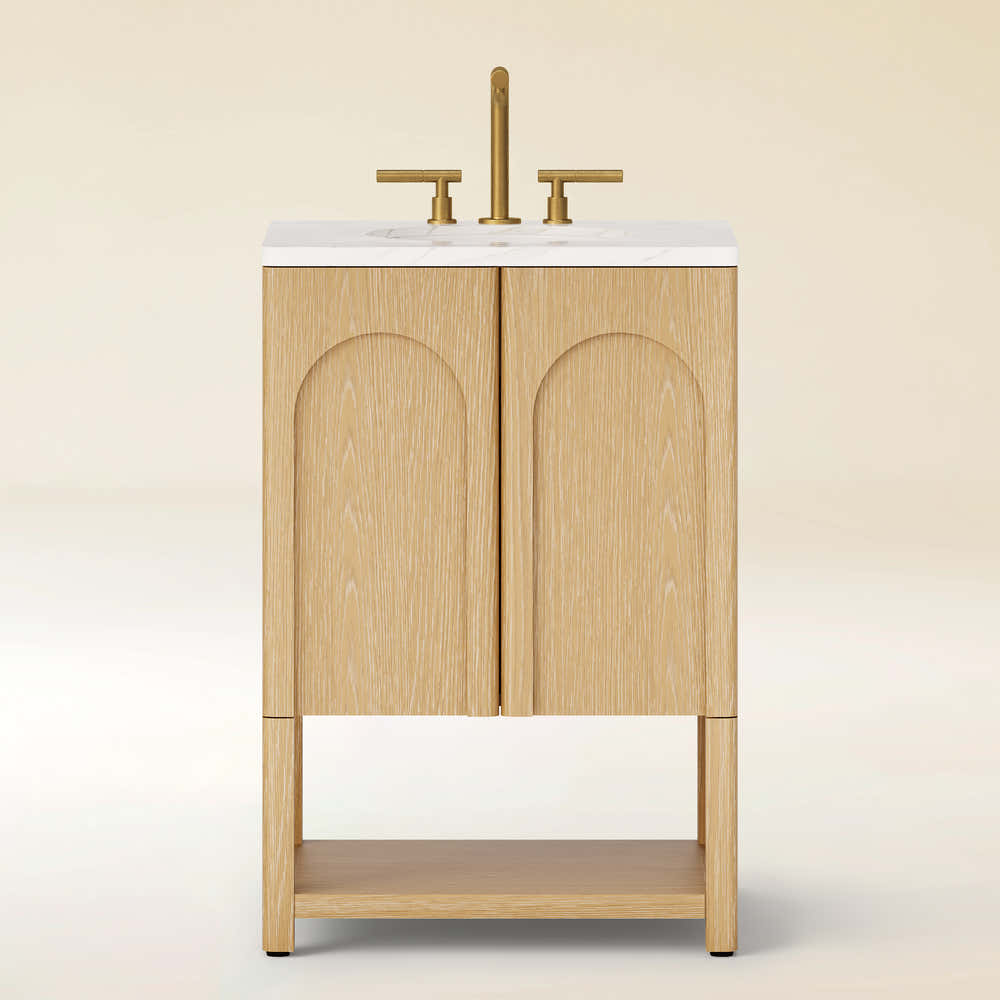
Alvar Arched 61" Oak Sideboard with Drawers(Set of 2)

Alvar Arched 91″ Oak Modular Media Console(Set of 3)


Charlie Sintered Stone Nightstand 26" W


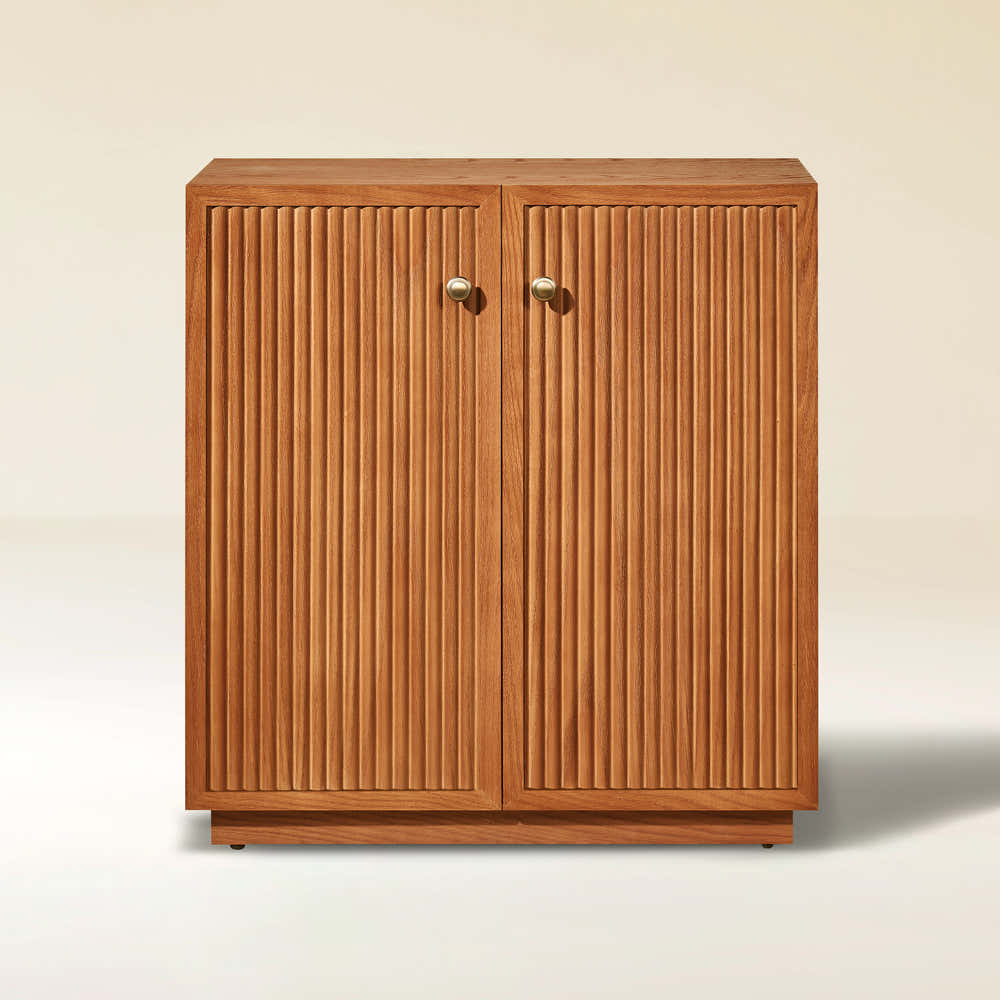
Ewan 63" Oak Slatted Sideboard Buffet Cabinet

Ewan Sintered Stone Nightstand 26"W

Holt 63″ Solid Oak Console(Set of 2)

Holt 95″ Solid Oak Console(Set of 3)

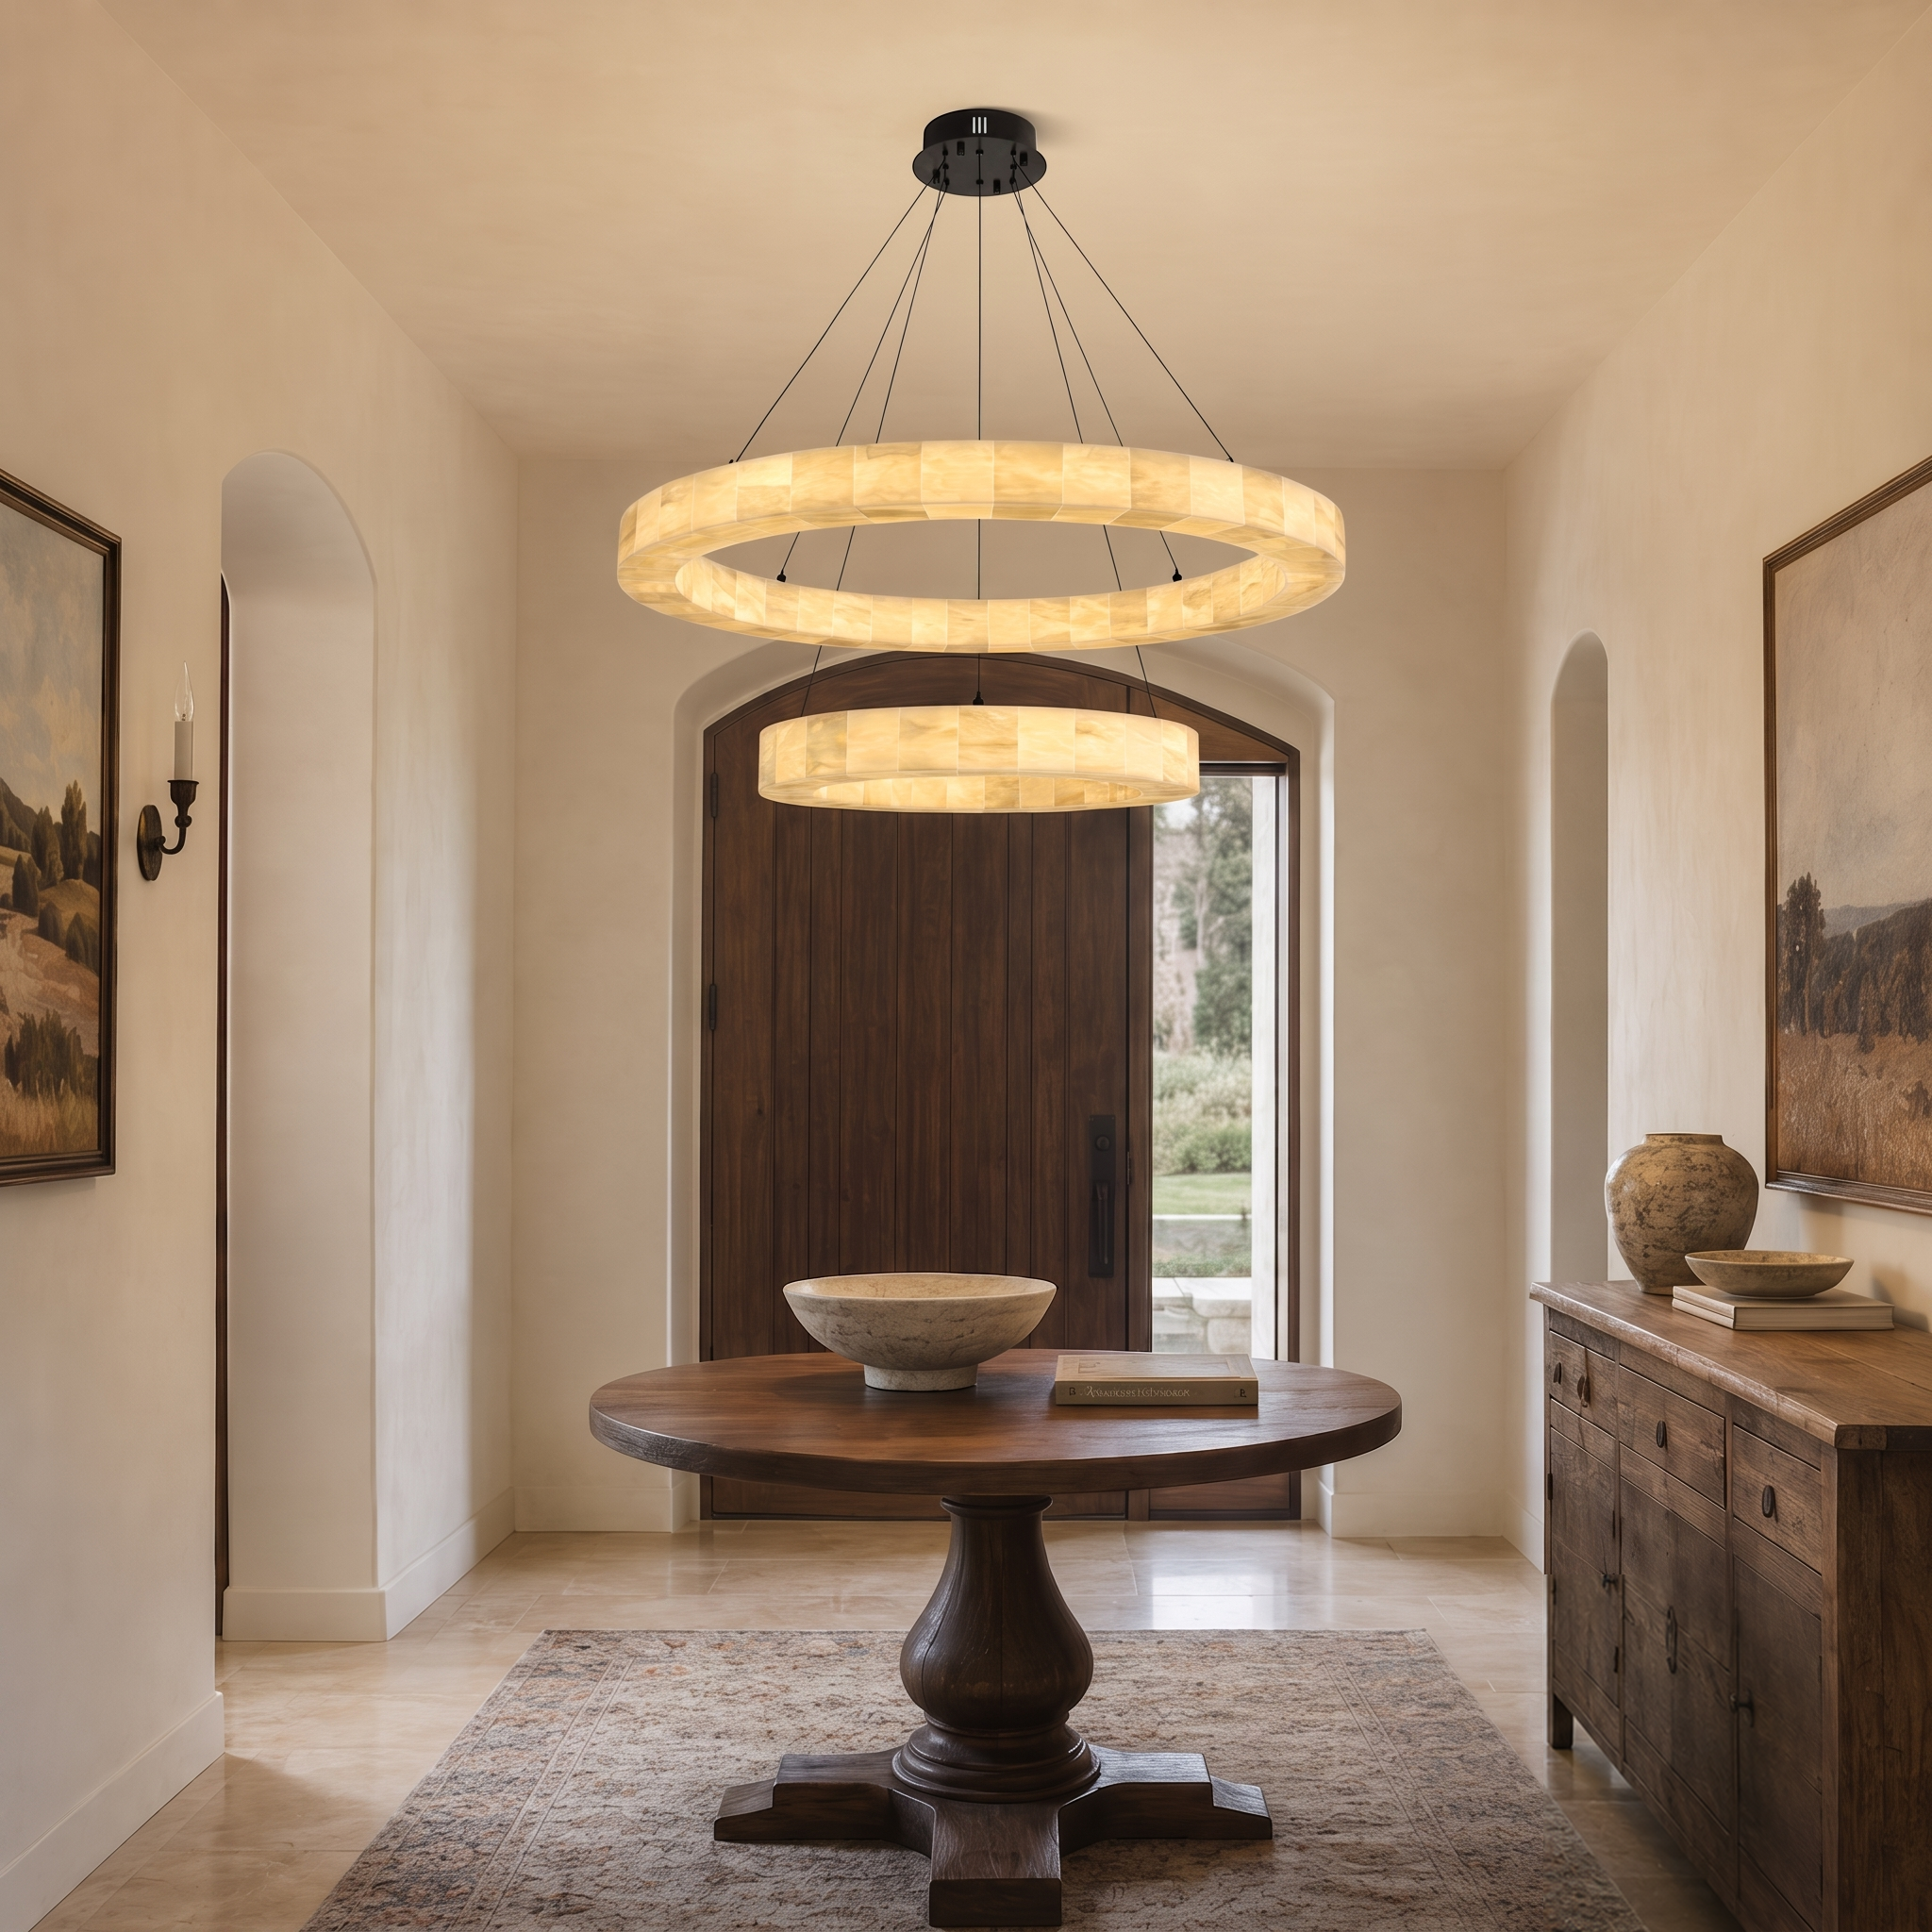
Moira Alabaster Round Chandelier 61cm D


Silas Extendable TV Stand 203cm to 280cm


Alvar Arched 91″ Oak Media Console(Set of 3)

Ewan Oak Extendable Media Console 79" to 110"

Holt 126″ Solid Oak Console(Set of 4)

FSC FCOC47059 . FSC is dedicated to the promotion of responsible forest management
worldwide. By selecting this product, you help take care of the woorld's forests

UL-certified for indoor drying environments not directly exposed to excessive moisture or water;
Use in the United States and Canada.

Certified to Dry ETL electrical standard: suitable for use indoors in dry locations not directly exposed to excessive moisture and water
Use in the United States

CE-certified drying equipment compliant with electrical standards: Suitable for indoor drying environments not directly exposed to excessive moisture or water;
Tested for use in Europe, the UK, and other regions.


The support center has answers to questions you may have. You can also contact customer service in the support center if you can't find what you're looking for.
Support Center >
At houlte, we are committed to delivering quality, style, and great value to our customers. Our goal is to simplify your shopping experience by providing competitive prices and exceptional service.

If an item you purchased from houlte goes on sale on our website within 30 days of your purchase date, you may request a price match. This policy ensures you always receive the best value when shopping with us.
Houlte reserves the right to interpret and adjust the terms of the Price Match Policy as necessary.
Houlte has partnered with Taskrabbit to make your everyday life at home easier by connecting you with flexible and affordable ways to get your to-do’s done including furniture assembly and mounting.

1. Purchase your furniture at Houlte.
2. Check your order Dispatched and Delivered email and click the
Houlte link. You will be redirected to Taskrabbit's landing page.
3. Post your task on Taskrabbit platform.
4. Pick the best tasker to assemble your furniture.
Houlte has partnered with Taskrabbit to make your everyday life at home easier by connecting you with flexible and affordable ways to get your to-do’s done including furniture assembly and mounting.
Taskrabbit Assembly is available in most metro areas in the US. The availability of Taskers varies based on demand. When placing an order on Taskrabbit, you will need to enter your zip code. If the service is not supported in your area, you will not be able to place an order.
You can book assembly for your Houlte furniture as early as the next day after your delivery, and up to 14 days in advance, giving you flexibility to choose a time that works best for you.

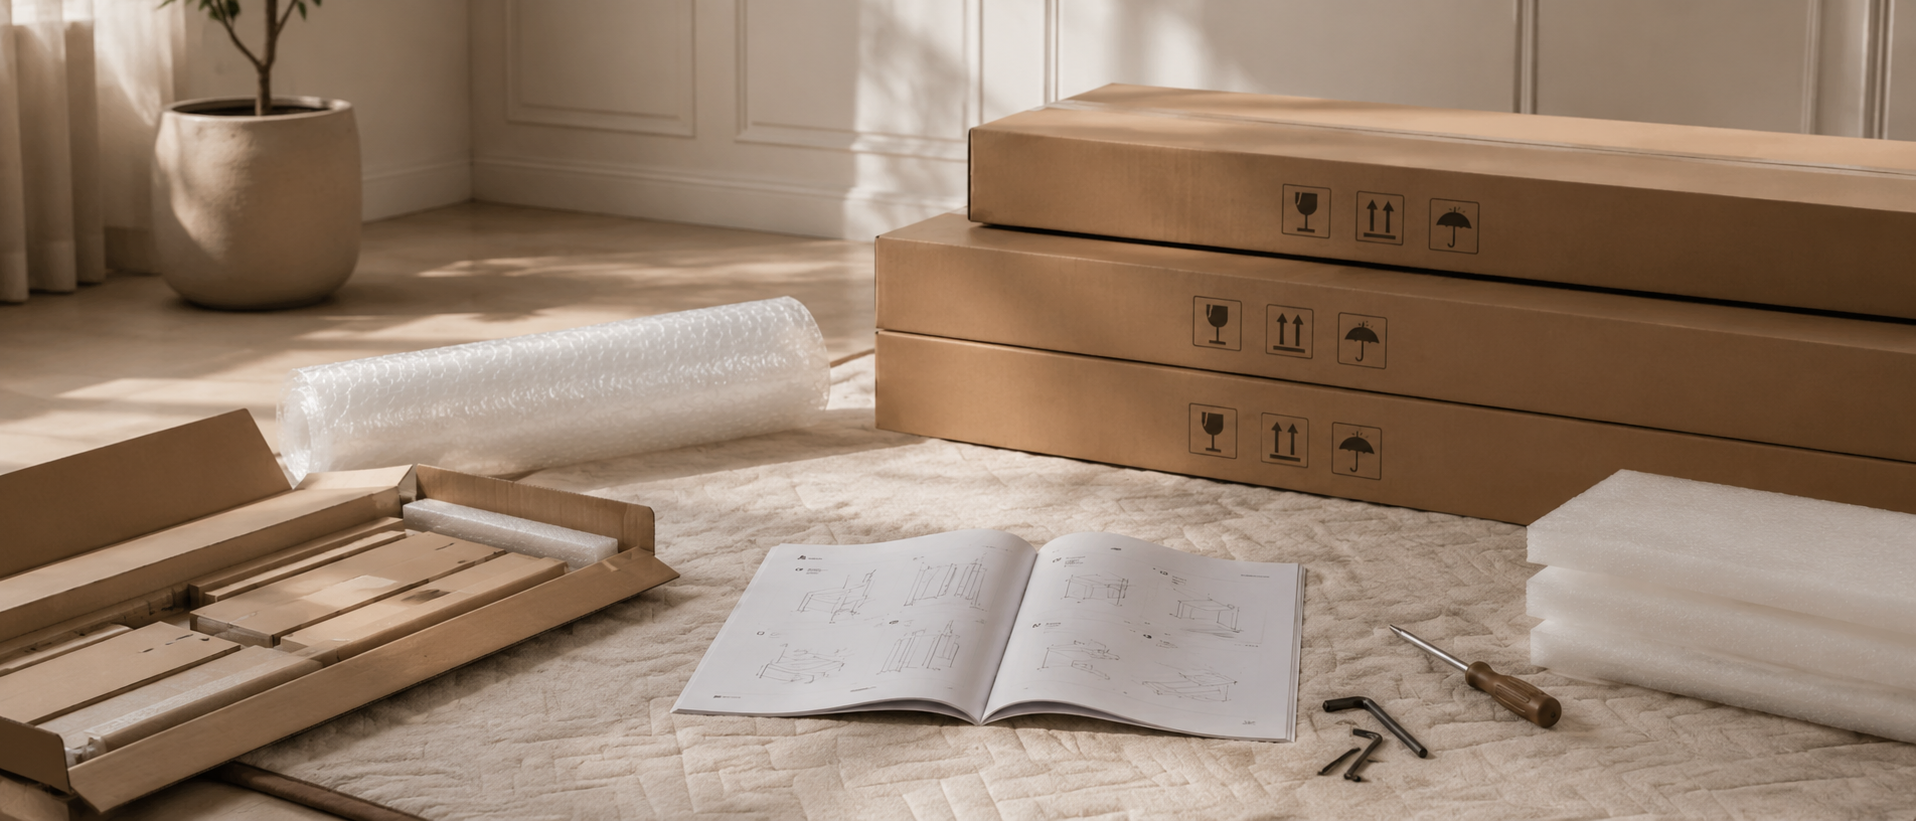
Ready to use out of the box; minimal installation may be required (e.g., handles).

Main structure is pre-built; minor components require attachment (e.g., legs).

Assembly required; multiple parts must be assembled before use.
Our furniture is built with a combination of core boards, real wood veneers, and selected solid wood parts. Each material is used for a different purpose—structure, surface appearance, or visible strength—so the final piece feels balanced in performance, finish, and cost.
Core boards form the internal foundation of the furniture. They provide structure, stability, and efficiency across large surfaces and cabinet bodies.

Stable structural board

Smooth and consistent

Functional internal board
Selected solid wood parts are used where visible strength, tactile quality, and structural integrity matter most—such as legs, frames, trim, and exposed support details.

Durable and classic

Light and versatile

Premium and elevated
Houlte invites you into a clear, practical guide that turns plans into lasting furniture. This introduction sets expectations for a full process that starts with planning and ends with installation. You will learn industry-tested methods that work in real shops.
The guide serves DIYers aiming for a furniture-grade look and pros who want an efficient workflow that respects the room and decor. Materials and tools are noted, from 3/4" prefinished maple plywood and hard maple frames to walnut tops, Festool Domino, dado blades, and Rubio Monocoat finishes.
Major phases include sizing, cutting and milling, door fabrication, case assembly, trim and top work, finishing, and final hardware setup. Emphasis is placed on safe table and router techniques and reliable layout steps for consistent results.
Downloadable plans and proven joinery simplify tricky steps. The end goal is a resilient, stylish unit that houses media, tames cables, and complements your space with long-term durability and easy maintenance.

Houlte designs pieces that calm a room and serve daily life. A built console should feel intentional, not loud, and fit the pace of your household.
Thoughtful material choice matters. Many home builders use prefinished Baltic birch plywood for the cabinet interior and a non‑prefinished sheet for the exterior. If you could find fewer premium sheets at big‑box stores, look to cabinet supply houses; they often stock higher‑grade panels.
What gives a piece a premium look? Stable joinery, even reveals, and a tactile finish. Design the inside on one side with adjustable shelves and hidden cable paths so electronics stay tidy and doors align precisely.
Approach the build as a long‑term piece. Thoughtful choices now mean daily enjoyment and a cabinet that still looks right years from today.
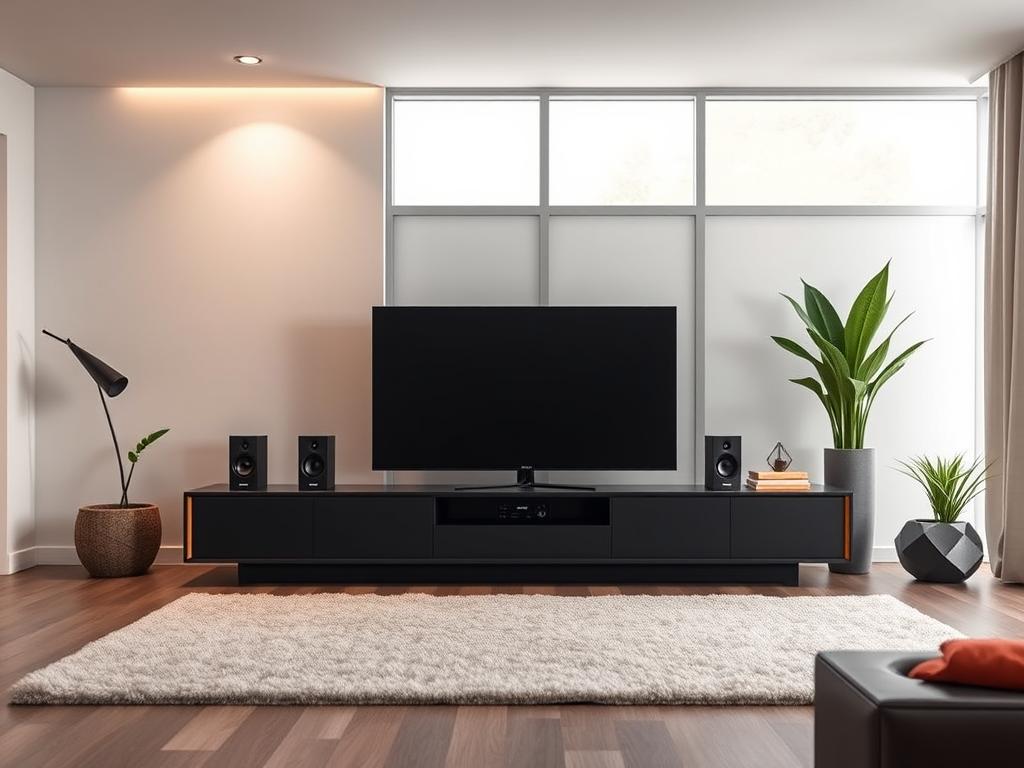
Start by matching cabinet height and width to your viewing habits and room flow. Measure seating distance and the TV height, then sketch rough elevations.
At Houlte, we believe home is more than a place - it's a feeling. Let design choices bring comfort, beauty, and harmony as you set final proportions.
Translate screen size and sightlines into a cabinet footprint. Example builds often use ~96" L x 28.75" H x 16" D. Doors might be 22.75" x 15.125".
Balance visual weight by pairing a thin top with taller boxes or lighter trim on taller pieces. Account for side panel thickness and inset or face‑frame details so doors clear and align.
| Choice | Example | Design note |
|---|---|---|
| Overall size | 96" x 28.75" x 16" | Good for large living rooms and widescreen TVs |
| Door size/count | 22.75" x 15.125" (3–4 doors) | Use center divider on spans over 6 ft |
| Internal layout | Adjustable shelves, vents, pass-through | Plan airflow for amplifiers and gaming gear |
Gathering the right sheets, lumber, and hardware early saves time and waste. Start with stable sheet goods and a clear bill of materials so cuts and assemblies stay predictable.
Choose 3/4-inch Baltic birch for the cabinet carcass and a 1/4" back panel. Use 4/4 hard maple for frames and trim, plus a 6/4 walnut board set for the top. Many builders source Baltic birch from cabinet suppliers when big-box quality falls short.

“Quality materials and thoughtful finish choices give a piece lasting beauty and function.”
| Item | Example | Notes |
|---|---|---|
| Sheet goods | 3/4" Baltic birch, 1/4" back | Prefinished interior on one side for easy cleanup |
| Solid lumber | 4/4 hard maple, 6/4 walnut top | Maple for frames; walnut for a durable top |
| Fasteners & hardware | Hinges, screws, magnetic catches | Match hinge cup and screw lengths to door thickness |
| Tools & supplies | Table saw, dado stack, Kreg jigs, Rubio Monocoat | Include clamps, push blocks, edge banding, and sanders |
A clean milling sequence saves time and prevents fits from wandering during assembly. Begin by jointing a flat face and one edge; that edge becomes your reference for accurate ripping. Plane the opposite face parallel, then return to the table saw for final width cuts.
Break down sheets with a track saw into manageable blanks, then refine those parts on the table for square edges. Label matching pieces before crosscutting so rails, stiles, and door parts stay paired and avoid rework.
| Step | Action | Why it matters |
|---|---|---|
| Mill faces & one edge | Joint, plane, square one edge | Creates reference for precise ripping |
| Break down sheets | Track saw then table finish | Makes large panels safe and square |
| Label & batch | Mark pieces before crosscut | Keeps matched parts identical |
"Accurate milling reduces fit issues and speeds assembly."
A precise door system lifts a cabinet from useful to refined by delivering quiet motion and clean gaps.
Start by cutting the frame grooves with a calibrated dado stack. Set the fence so each groove lines up for an even reveal. Use a tenon jig to cut repeatable tongues that seat snugly without forcing.
Raise panels at the router table with multiple shallow passes. Work in half-depth increments and run the router at low speed for large bits. Sand profile edges before assembly so the finish lays down cleanly.
Assemble with clear reference faces so all parts register the same way during glue-up. Dry fit the box—bottom, side panels, and center divider—then check that edges and corners sit square.
Choose joinery: Domino, dowel, or pocket screws. Lay out mortises or pocket locations evenly and avoid clashes with shelf pin holes.
Square the box, keep screw spacing consistent, and confirm clearances for doors and hinge hardware at the front. Sand interior faces and apply edge banding to shelf fronts before final fit. Mark pilot points for the top attachment now so those fasteners are ready after doors go on.
Plan board placement and glue strategy early so the top reads as one continuous surface in the room.
Lay out walnut boards with grain continuity and color balance. Prioritize the face that will face forward and pair boards with tight seam joints. Glue the top in manageable halves so you can plane each section flat before final joinery.
Chamfer the underside at 45 degrees to thin the visual mass. This small cut lights the cabinet and echoes nearby trim molding geometry.
Mill trim molding from hard maple when stock profiles do not fit the look. Dry-fit miters and clamp carefully.
If a joint creeps during glue-up, a used pin nailer can tack the pieces without clamps. Place pins sparsely and hide them behind the trim where screws or glue cover them later.
Apply prefinished edge banding with an iron and a speed roller for pressure. Trim flush with a bearing flush-trim bit or edge trimmer, then break the edge lightly to prevent chipping.
Drill any concealed holes behind trim for pass-throughs or ventilation before final attachment. Confirm side overhangs and front reveals so the console reads balanced from every angle.
| Task | Action | Why it matters |
|---|---|---|
| Board layout | Pair boards, glue halves | Tighter seams and easier flattening |
| Underside chamfer | 45° bevel on underside | Lightens visual mass and echoes molding |
| Edge finish | Iron-on edge banding, trim flush, break edge | Protects finish and prevents chipping |
A considered finish and careful hardware fit bring durability and calm to the completed cabinet. Choose systems that give the walnut top warmth and the box lasting resistance. Sand the top to 150 grit before applying Rubio Monocoat Pure for an even, tactile coat.
Spray or roll cabinet-grade paint such as Benjamin Moore Advance (Satin) on the box and doors. Allow several days of cure time before attaching hardware to avoid marks and movement.
Use a Kreg Concealed Hinge Jig to bore hinge cups precisely and follow manufacturer placement found online. Test-fit hinges, adjust cam screws, and prefer soft-close variants for a refined feel.
Drill standard holes at the front and elongated holes at the back inside cabinet rails. Secure the top with washered screws so the top can move seasonally without stressing joints.
“Small details—soft-close hinges, satin sheens, and proper screw slots—lift the piece from good to lasting.”
| Task | Action | Why it matters |
|---|---|---|
| Top finish | Sand to 150 grit; apply Rubio Monocoat Pure | Warm touch and durable surface for walnut top |
| Box finish | Spray/roll Benjamin Moore Advance (Satin) | Hard-wearing paint with furniture-level sheen |
| Hinge placement | Bore with Kreg jig; follow specs found online | Repeatable alignment and clean door reveals |
| Top attachment | Elongated holes at back; washered screws | Allows seasonal movement; prevents stress |
Let every decision aim for balance: comfort, longevity, and visual calm in the living space. Houlte frames design so a cabinet feels like part of daily life rather than an afterthought.
Houlte supports builders worldwide with warehouses in North America and the UK. That network ensures parts and finishing supplies arrive reliably, keeping projects on schedule and budgets stable.

Design choices should enhance the room and encourage calm. Treat this console as a long-term investment: focus on durable joinery, standard hardware, and finishes that match the rest of your home.
Dependable logistics mean replacements and add-ons are accessible. If you could find higher-grade sheet goods at specialty suppliers, pair them with Houlte’s guidance for a premium result.
“At Houlte, we believe home is more than a place - it's a feeling.”
Wrap up the process with practical checks that save time and prevent rework. Review fit at each door and hinge, confirm even gaps at the edge, and test top cabinet fasteners with washered screws. Inspect the bottom support and any shelf holes so the box carries gear safely.
Check board joins, edge banding, and the walnut top for smooth transitions. Sand and apply final finish in controlled passes so the piece wears well. Use safe table saw routines for any late trimming and keep one side decisions, like trim or pulls, consistent around the piece.
At Houlte, we believe home is more than a place—it's a feeling. Thank you for building in a way that brings comfort, beauty, and harmony into your everyday life.


Share:
How to Build a Media Console: Step-by-Step Instructions
How to Style a Media Console for a Modern Home